Steps to Create Azure Virtual Machine Scale Set
A Virtual Machine Scale Set lets us easily create and manage multiple virtual machines. The Azure Virtual Machine Scale Set allows you to create and manage a group of Virtual Machines. The number of VM instances can automatically increase or decrease based on scheduled conditions.
Useful Articles:
- HOW TO CREATE AZURE VIRTUAL MACHINE USING AZURE PORTAL
- STEPS TO CREATE AZURE CUSTOM VM IMAGE
- AZURE VIRTUAL MACHINE SCALE SET & AUTO SCALING
- HOW TO TAKE AZURE VIRTUAL MACHINE SNAPSHOTS FOR DISKS
- CREATE NEW VIRTUAL MACHINE USING EXISTING SNAPSHOT
In this article, we will explain the steps to create Azure Virtual Machine Scale Set.
I am assuming you have an Azure subscription. Follow the below steps to create a Linux virtual machine.
Step 1: Log in to Azure Portal
Log in to the Azure portal using the below link.
https://portal.azure.com
Step 2: Create Virtual Machine Scale Set
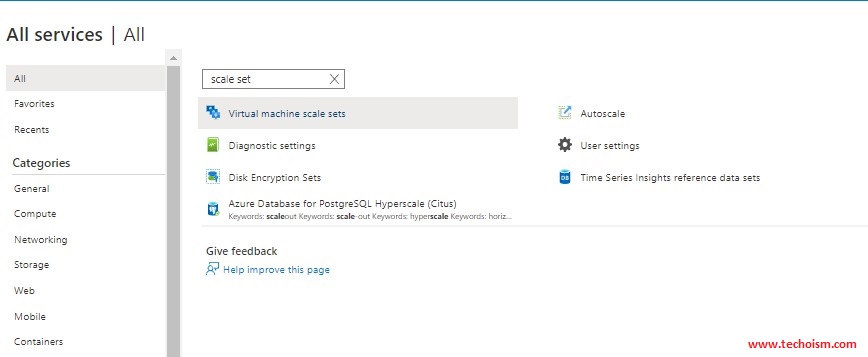
In portal search for the virtual machine scale set
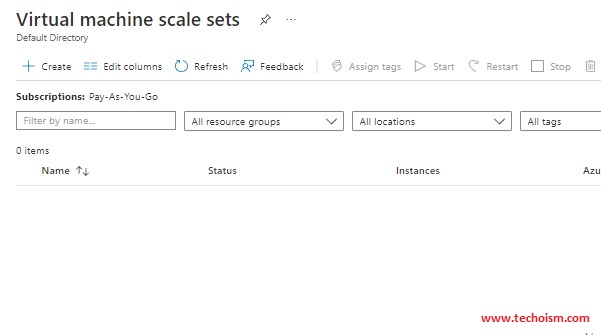
Click on “Virtual machine scale sets” and then click on “Create”
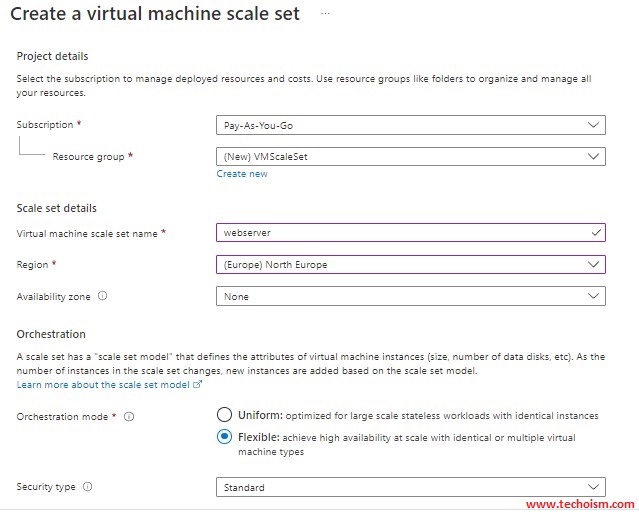
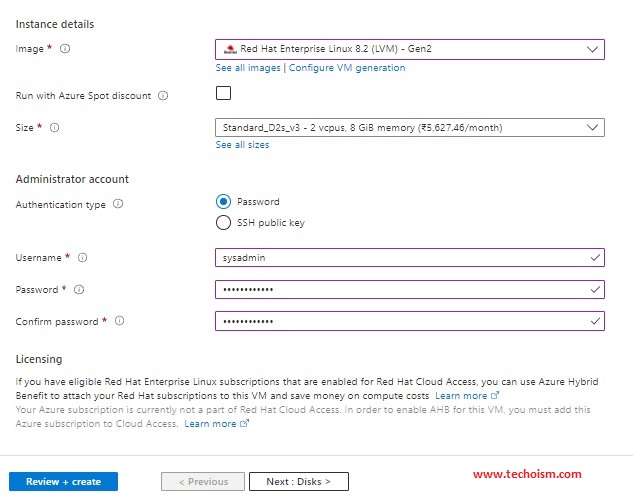
Enter a name to the scale set and fill in all the other required details. Now click on “Next: Disks >”.
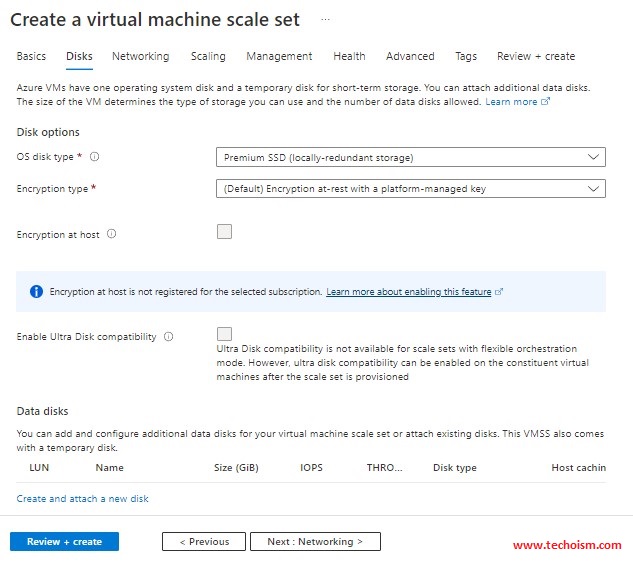
In the following screen (Disks), you can add the disk architecture that you need. I kept the default choice for what it needed. You can change it based on your business need. You can also add and configure additional data disks also. Now click on “Next: Networking >”.
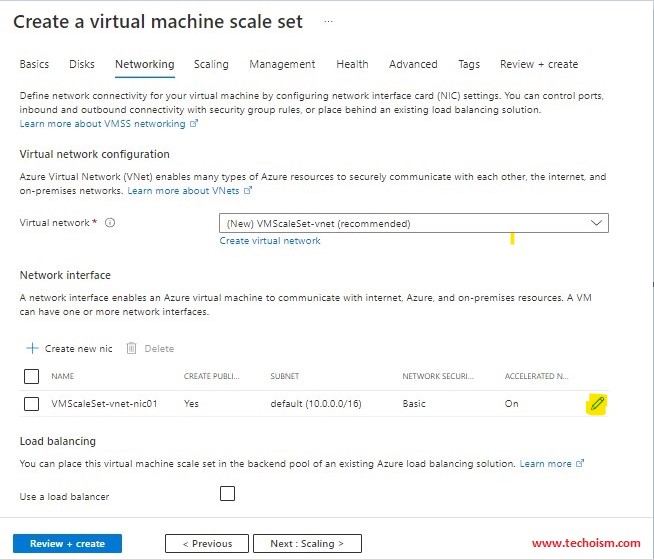
A network interface enables an Azure virtual machine to communicate internally. Azure and on-premises resources. A VM can have one or more network interfaces. Click on the pencil icon under the Network interface category.
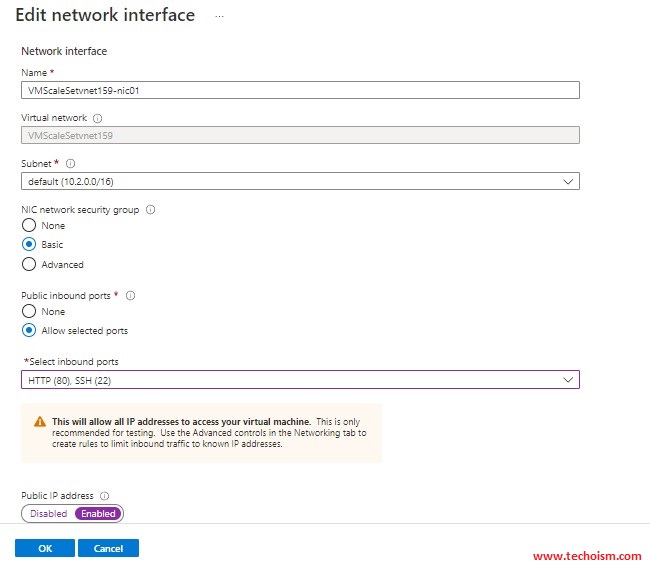
This takes you to the following Edit network interface page. Under “Public inbound ports”, select “Allow required ports” and also enable Public IP address. Now click on “Next: Scaling >”.
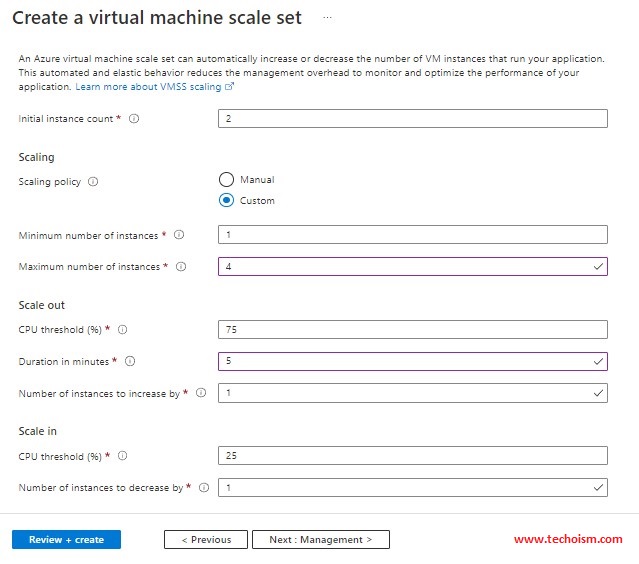
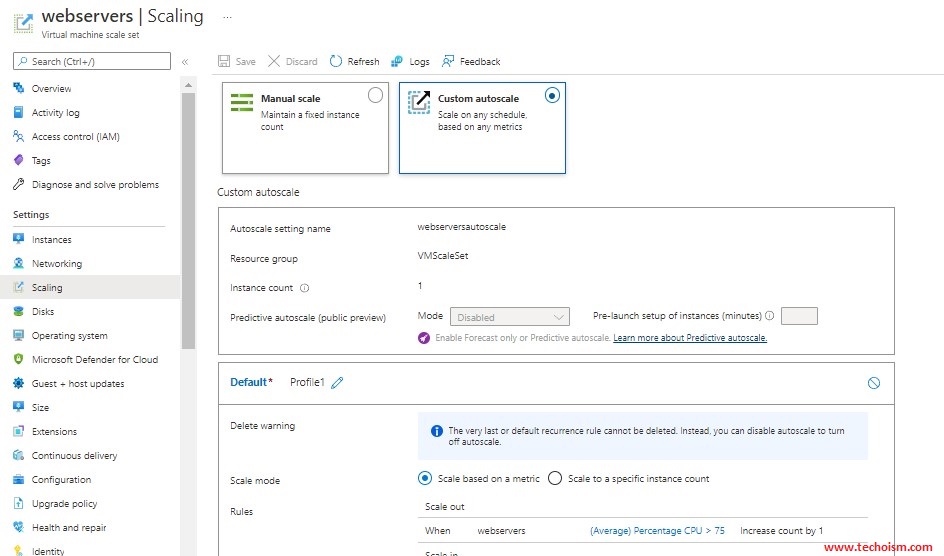
Specify the number of instances in the scale set. We are going to scale out the virtual machines if the average percentage of CPU utilization is above 75 per cent and the scale it is below 25 per cent.
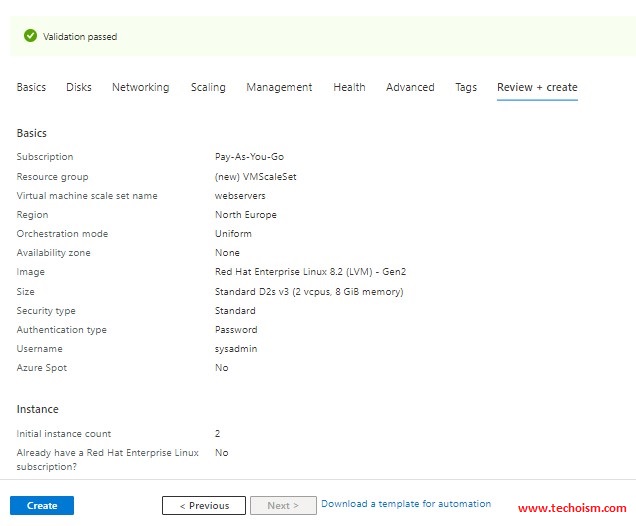
After completing other information it will validate all your information. Now click on Create.
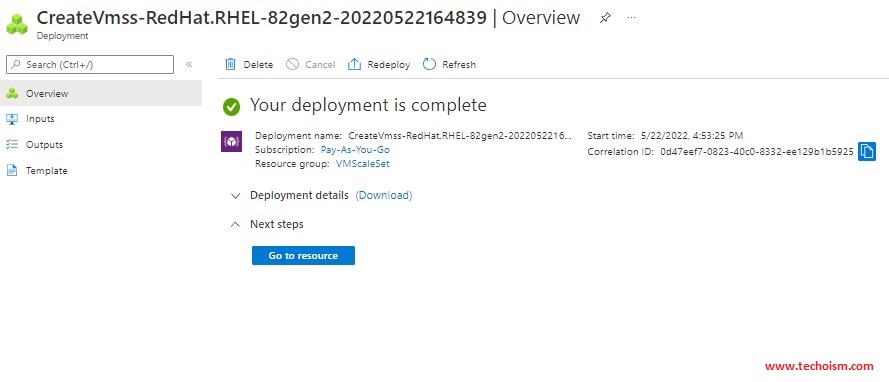
Once the deployment is completed click on Go to the resource.
Step 3: Virtual Machine Scale Set Configuration
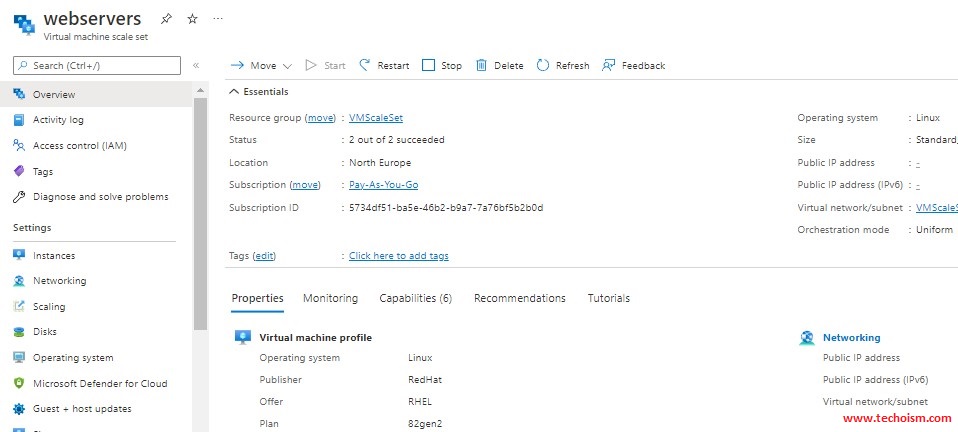
Now you will be able to see your virtual machine scale set.
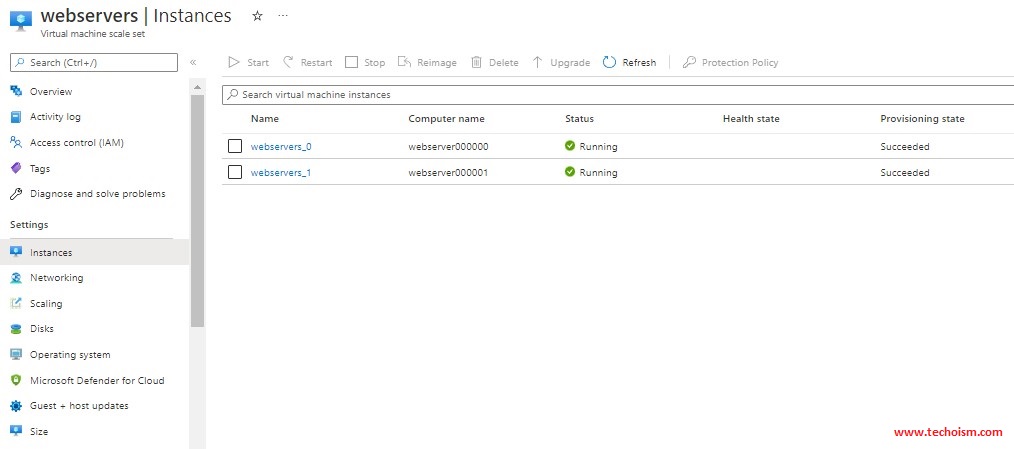
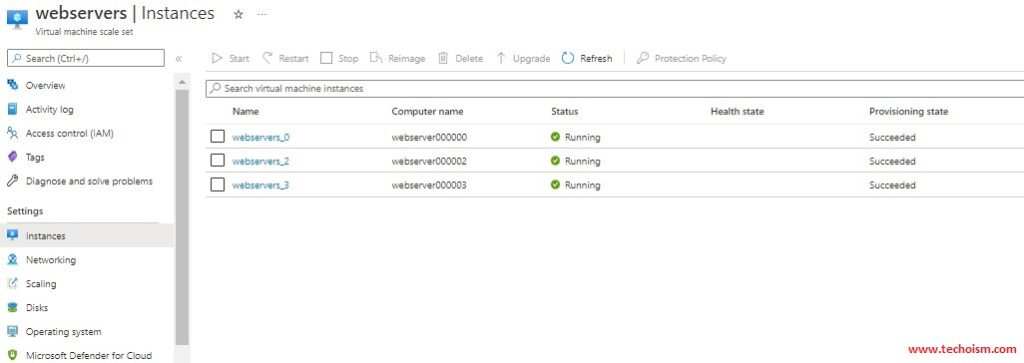
Click on the Instance section to see your running instances.
You can change, modify or add a new scaling policy using the Scaling section.
Step 4: Connect Instance
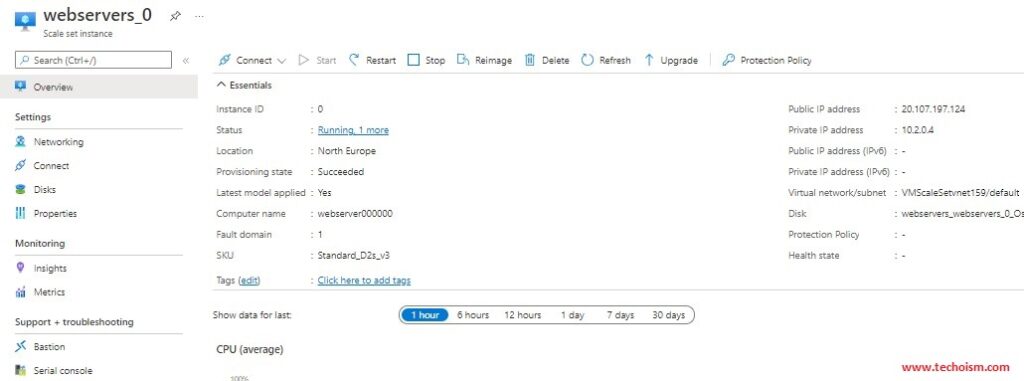
Click on instance to get the public IP address.
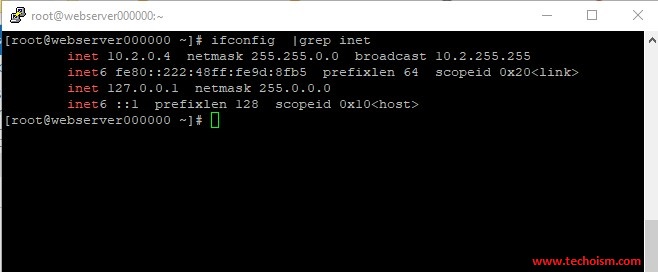
You can connect instances using public IP.
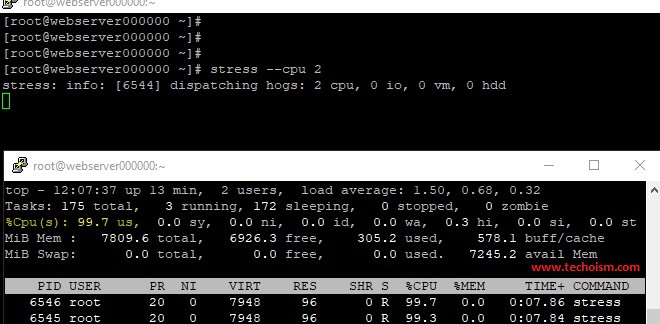
Generating artificial load on a server using stress command.
# stress --cpu 2
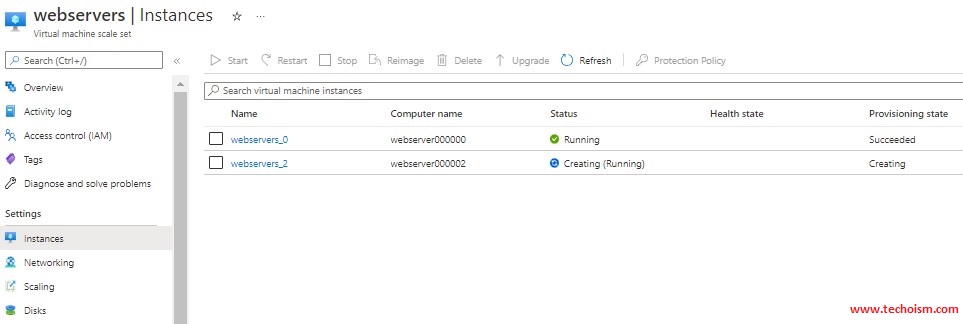
After 5 mins it will create the new instance.
Enjoy it!
