How To Setup Passwordless Login on CentOS/RHEL 7
SSH (Secure SHELL) is an open source and most trusted network protocol that is used to login into remote servers. SSH is a server and client protocol, and it helps us to accessing the system remotely over the network. When the client machine trying to access the server using SSH then client download the key from the server and at the same time server also try to download the key from client. These two keys make the encrypted tunnel between server and client, so that data transfer very securely over the network.
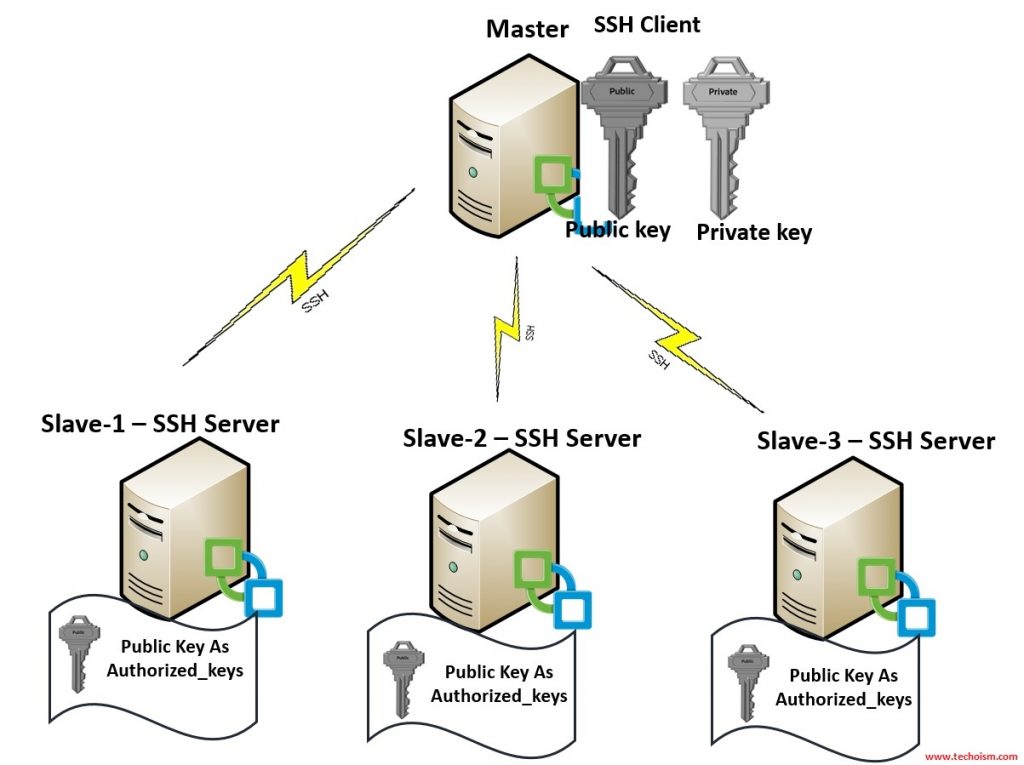
This article will helps you to setup password less login with the help of SSH.
My Setup Environment:
| Hostname | IP Address | User | OS | Purpose |
| srv.techoism.com | 192.168.1.6 | techoism | CentOS/RHEL 7 | Source Machine |
| client.techoism.com | 192.168.1.7 | dennis | CentOS/RHEL 7 | Destination Machine |
See Also:
- HOW TO CONFIGURE A CHROOT JAIL FOR SSH ACCESS IN LINUX
- OPENSSH SERVER BEST SECURITY PRACTICES
- DIFFERENCE BETWEEN TELNET AND SSH IN LINUX
Step 1: Create Authentication SSH Key
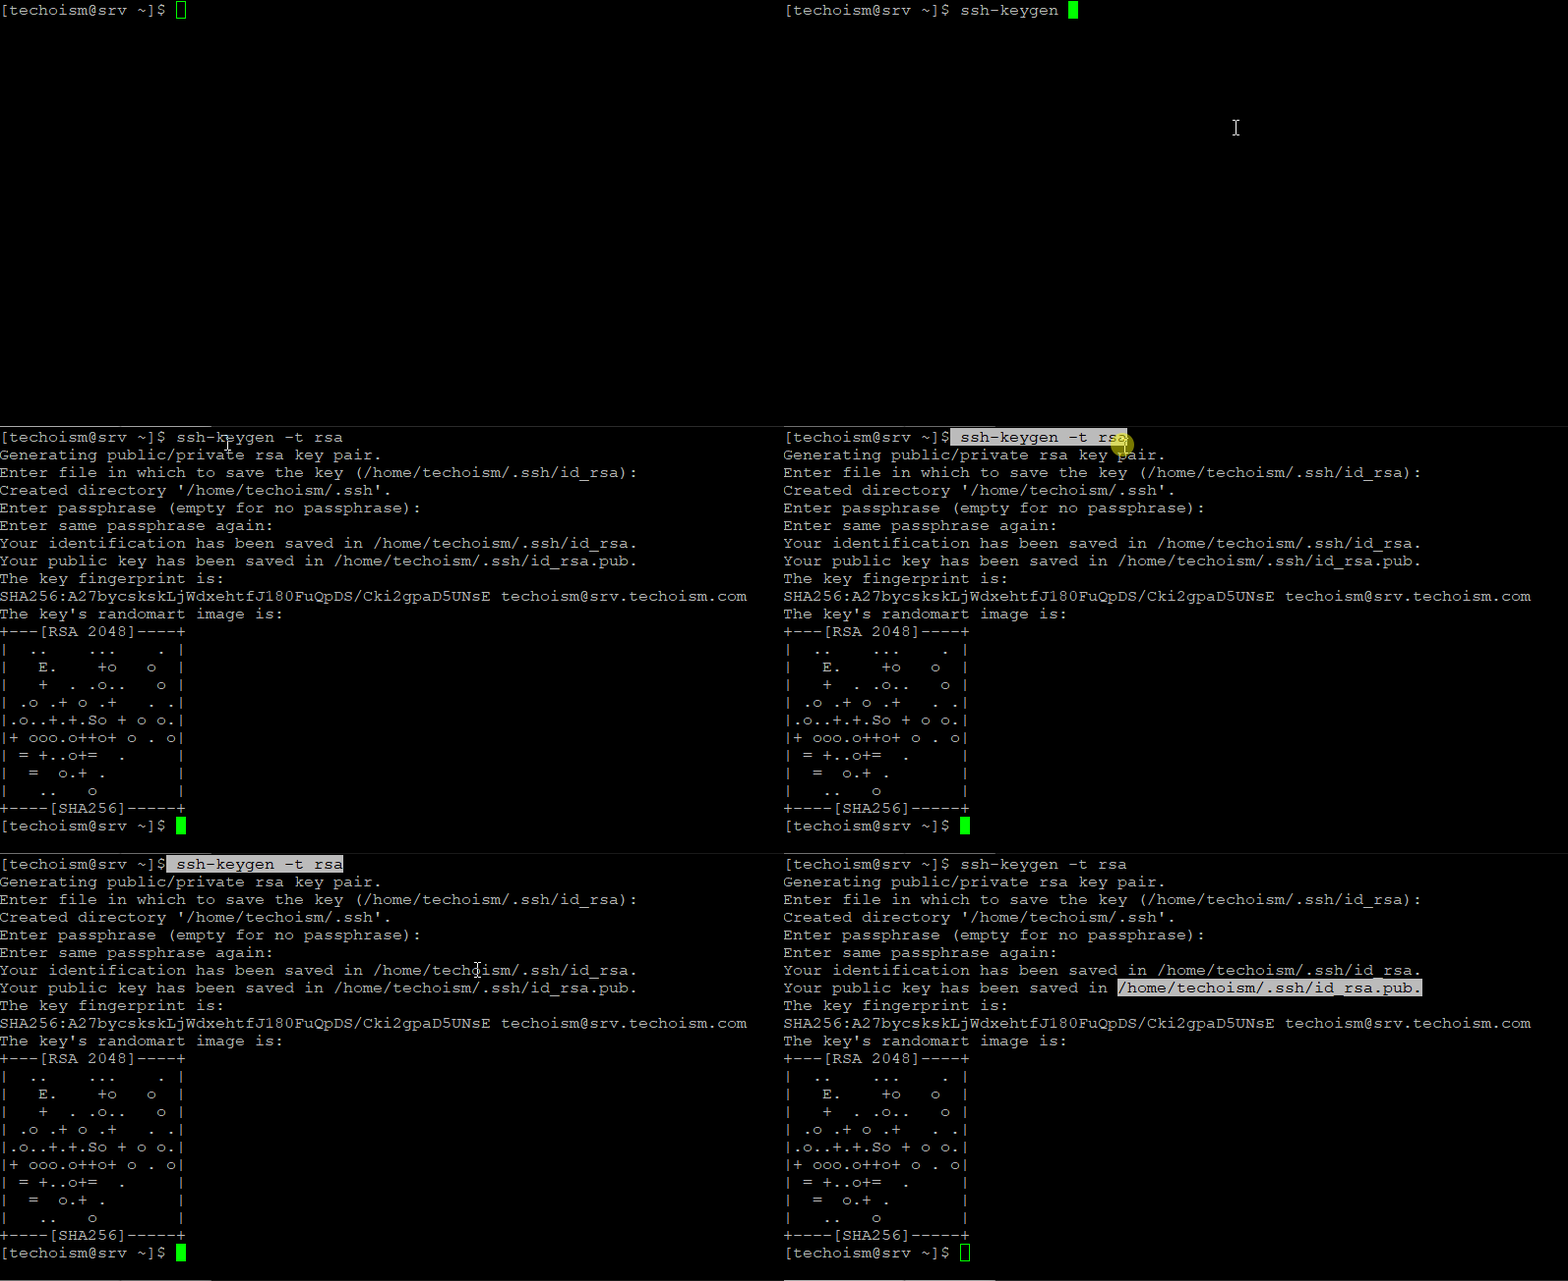
First login to the source machine using techoism user and generate the SSH key using mention command.
# ssh-keygen -t rsa
Or
# ssh-keygen -t dsa
 Generating public/private rsa key pair.
 Enter file in which to save the key (/home/techoism/.ssh/id_rsa): [Press Enter Key]
 Created directory '/home/techoism/.ssh'.
 Enter passphrase (empty for no passphrase):             [Press Enter Key]
 Enter same passphrase again:                            [Press Enter Key]
 Your identification has been saved in /home/techoism/.ssh/id_rsa.
 Your public key has been saved in /home/techoism/.ssh/id_rsa.pub.
 The key fingerprint is:
 SHA256:A27bycskskLjWdxehtfJ180FuQpDS/Cki2gpaD5UNsE techoism@srv.techoism.com
 The key's randomart image is:
 +---[RSA 2048]----+
 |  ..    …    . |
 |   E.    +o   o  |
 |   +  . .o..   o |
 | .o .+ o .+   . .|
 |.o..+.+.So + o o.|
 |+ ooo.o++o+ o . o|
 | = +..o+=  .     |
 |  =  o.+ .       |
 |   ..   o        |
 +----[SHA256]-----+
Step 2: Create .ssh Directory
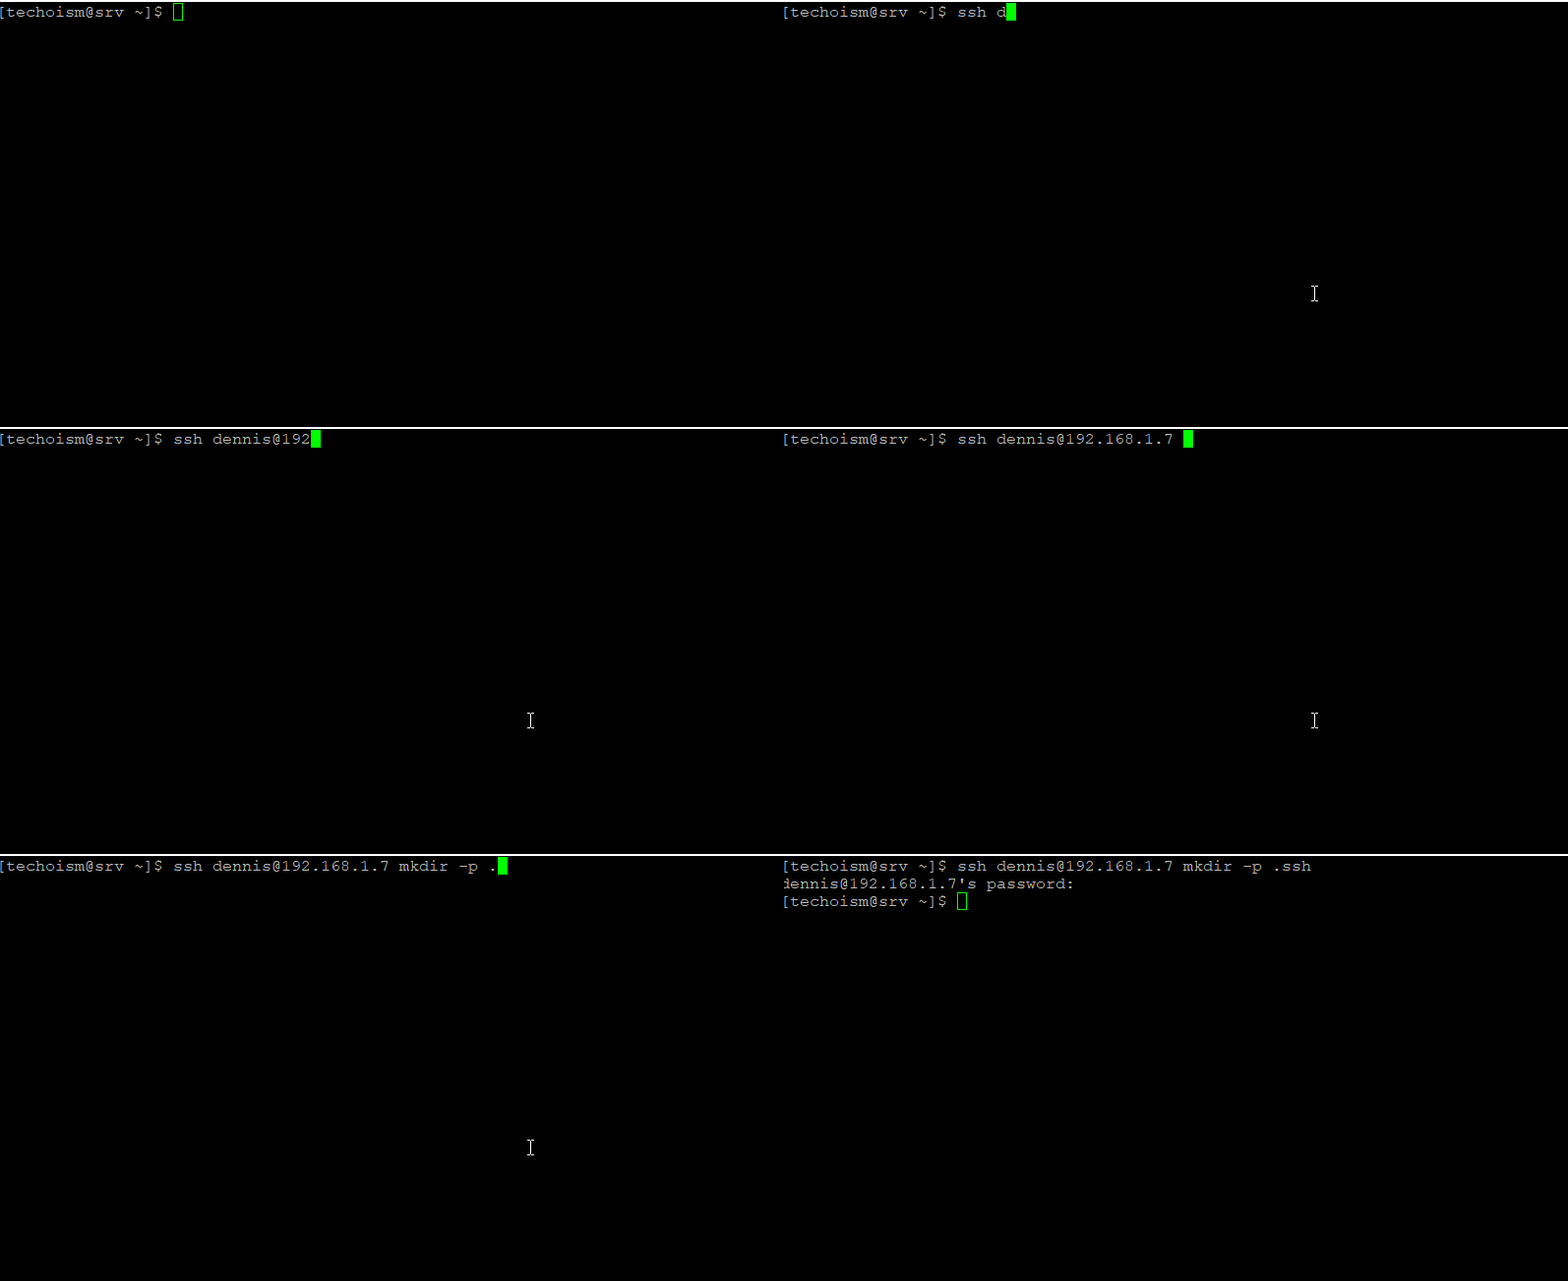
After generating the ssh key on server we will create the .ssh directory on destination using dennis user.
# ssh dennis@192.168.1.7 mkdir -p .ssh
Step 3: Upload Generated Public Key
Now we need to upload the generated public key (id_rsa.pub) on destination machine. There is 2 ways to upload the key.
Method 1:
We can copy the key manually also. If we can copy the key manually then in that case we need to configure the permission also. Please use mention steps to copy the key.
# cat .ssh/id_rsa.pub | ssh dennis@192.168.1.7 "cat >> .ssh/authorized_keys"
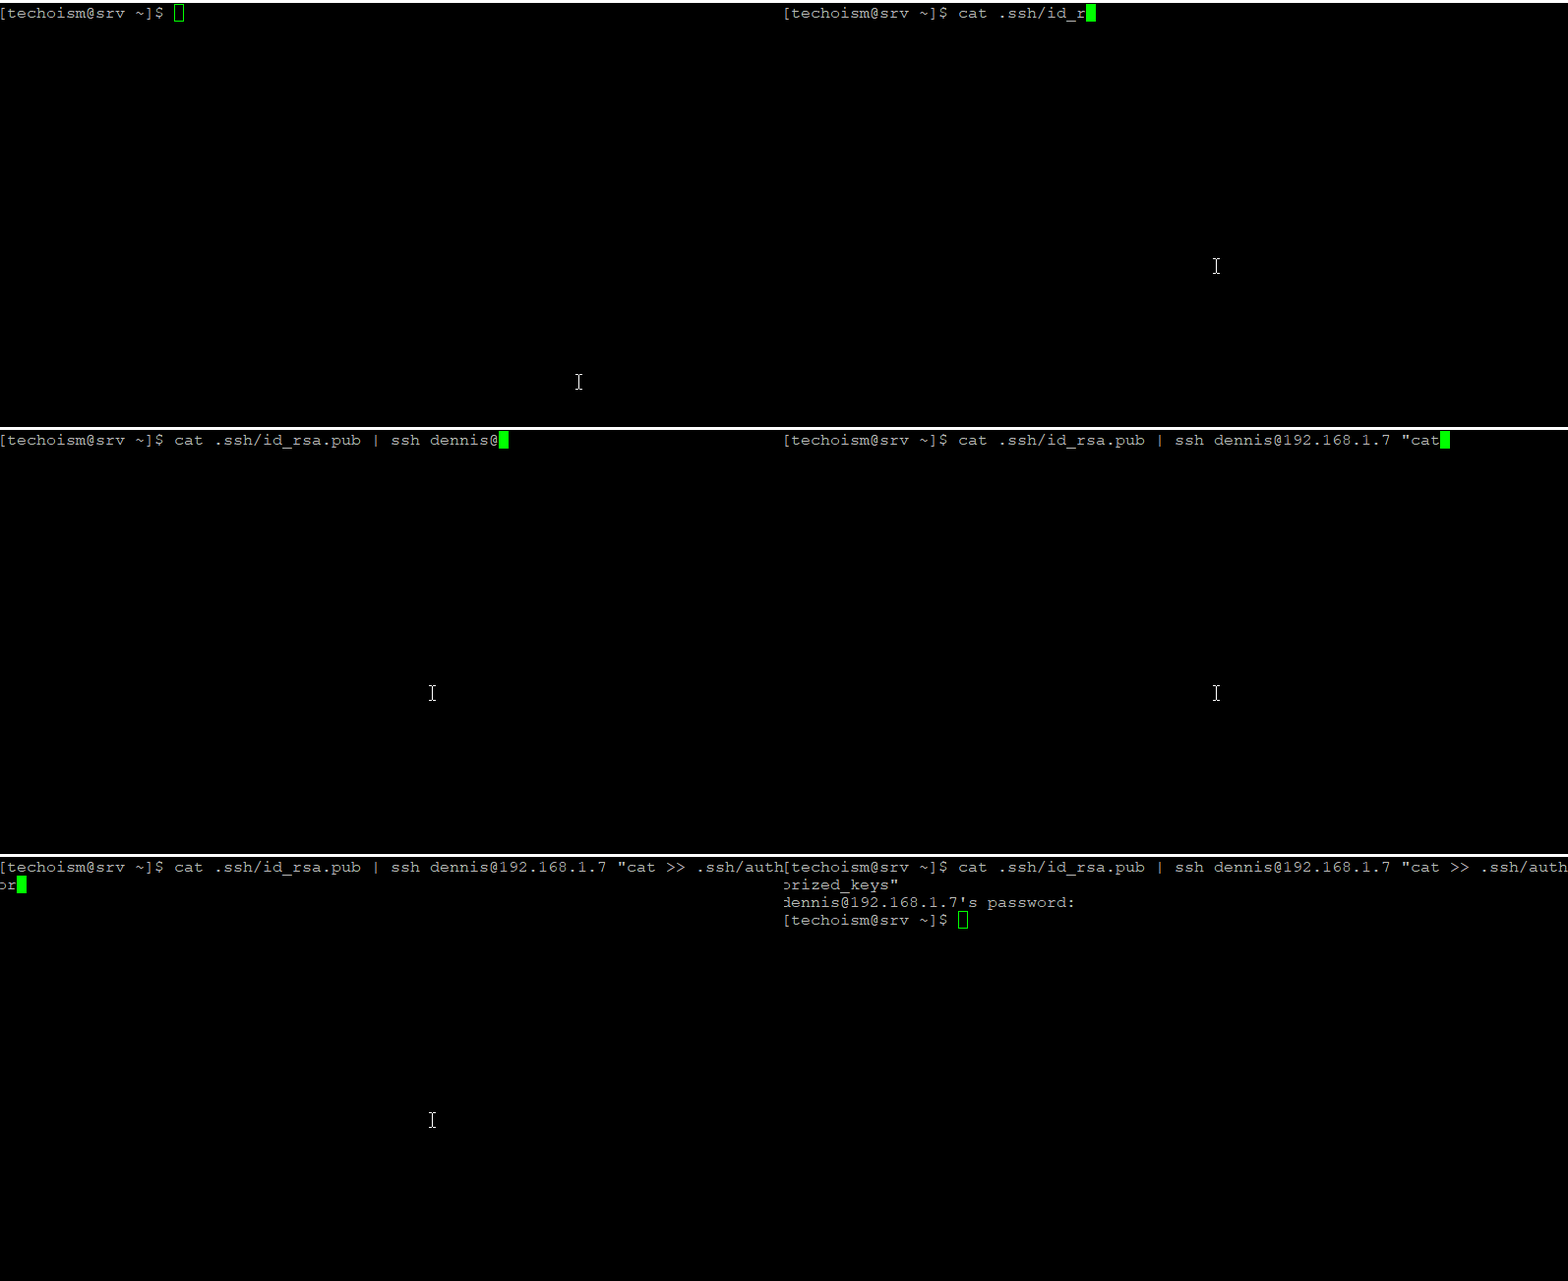
Configure the permission for .ssh directory and authorized_keys file.
# ssh dennis@192.168.1.7 "chmod 700 .ssh; chmod 600 .ssh/authorized_keys"
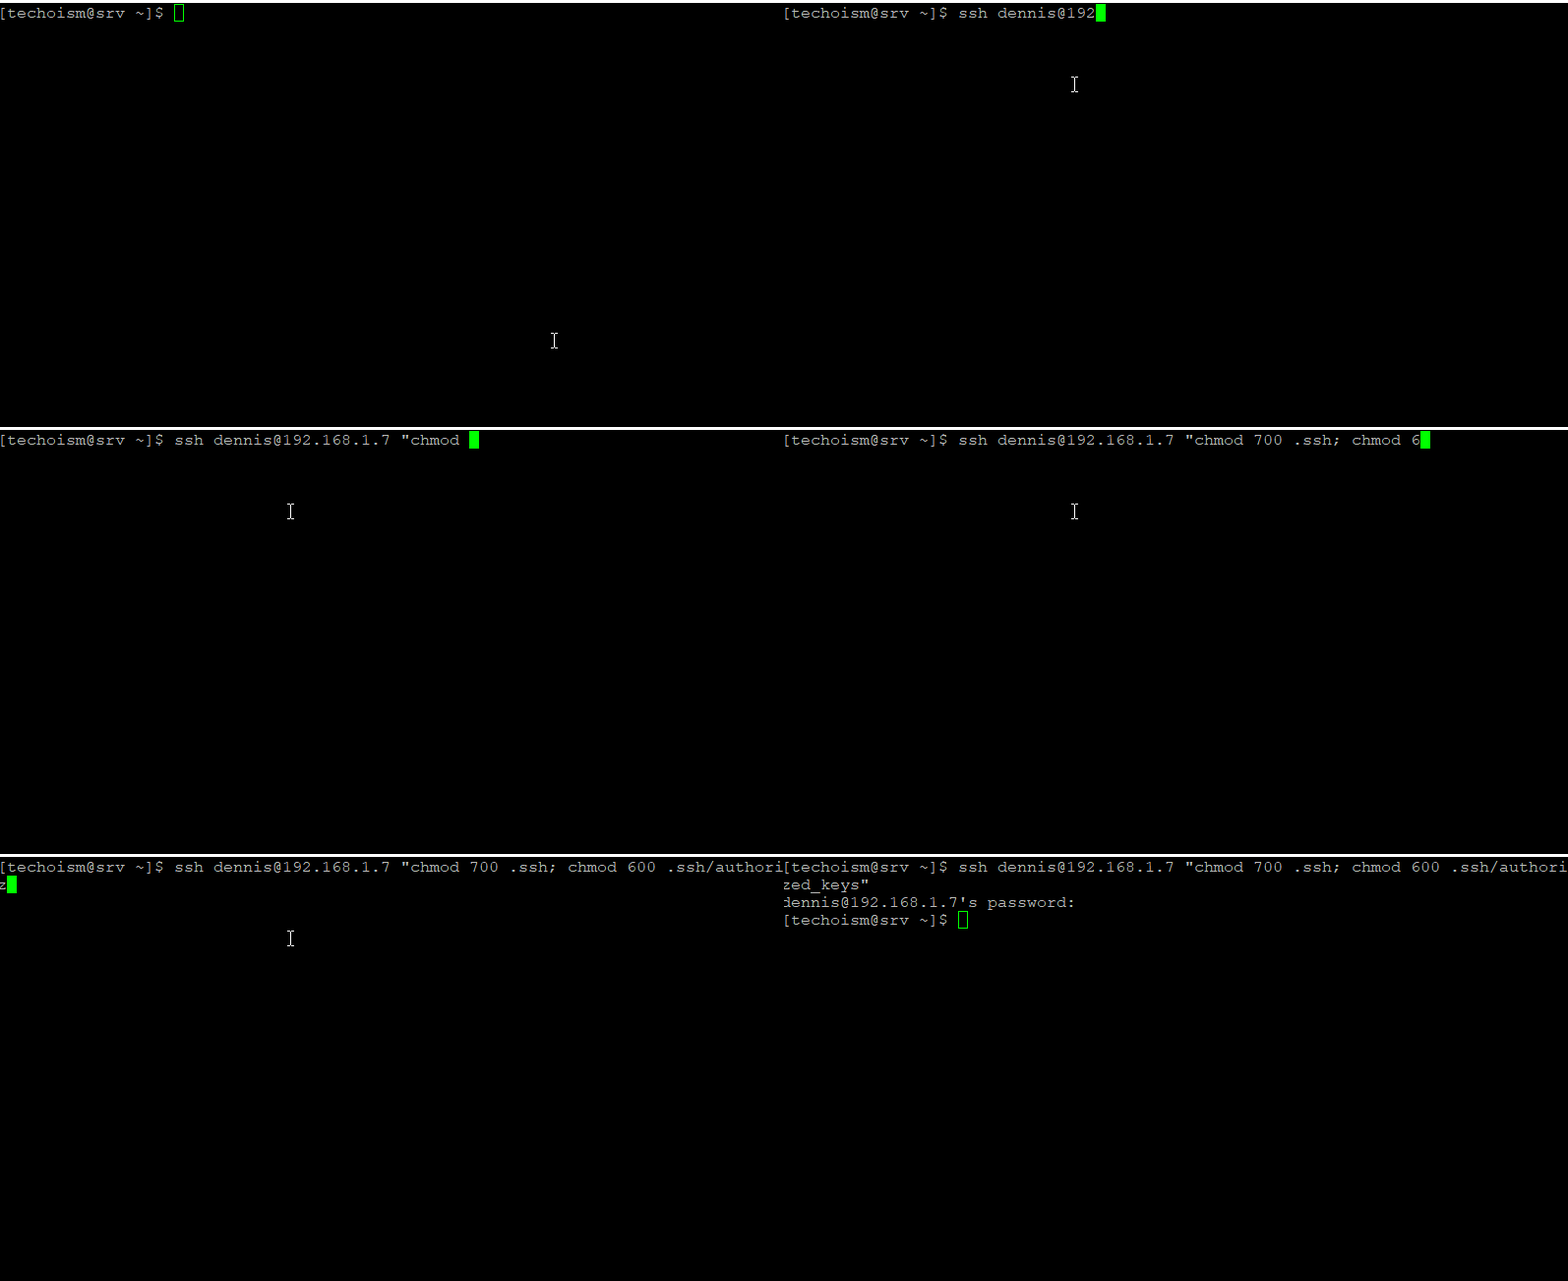
Method 2:
There is an another way to copy the public key, with that way you don’t need to configure the permission of files and directory.
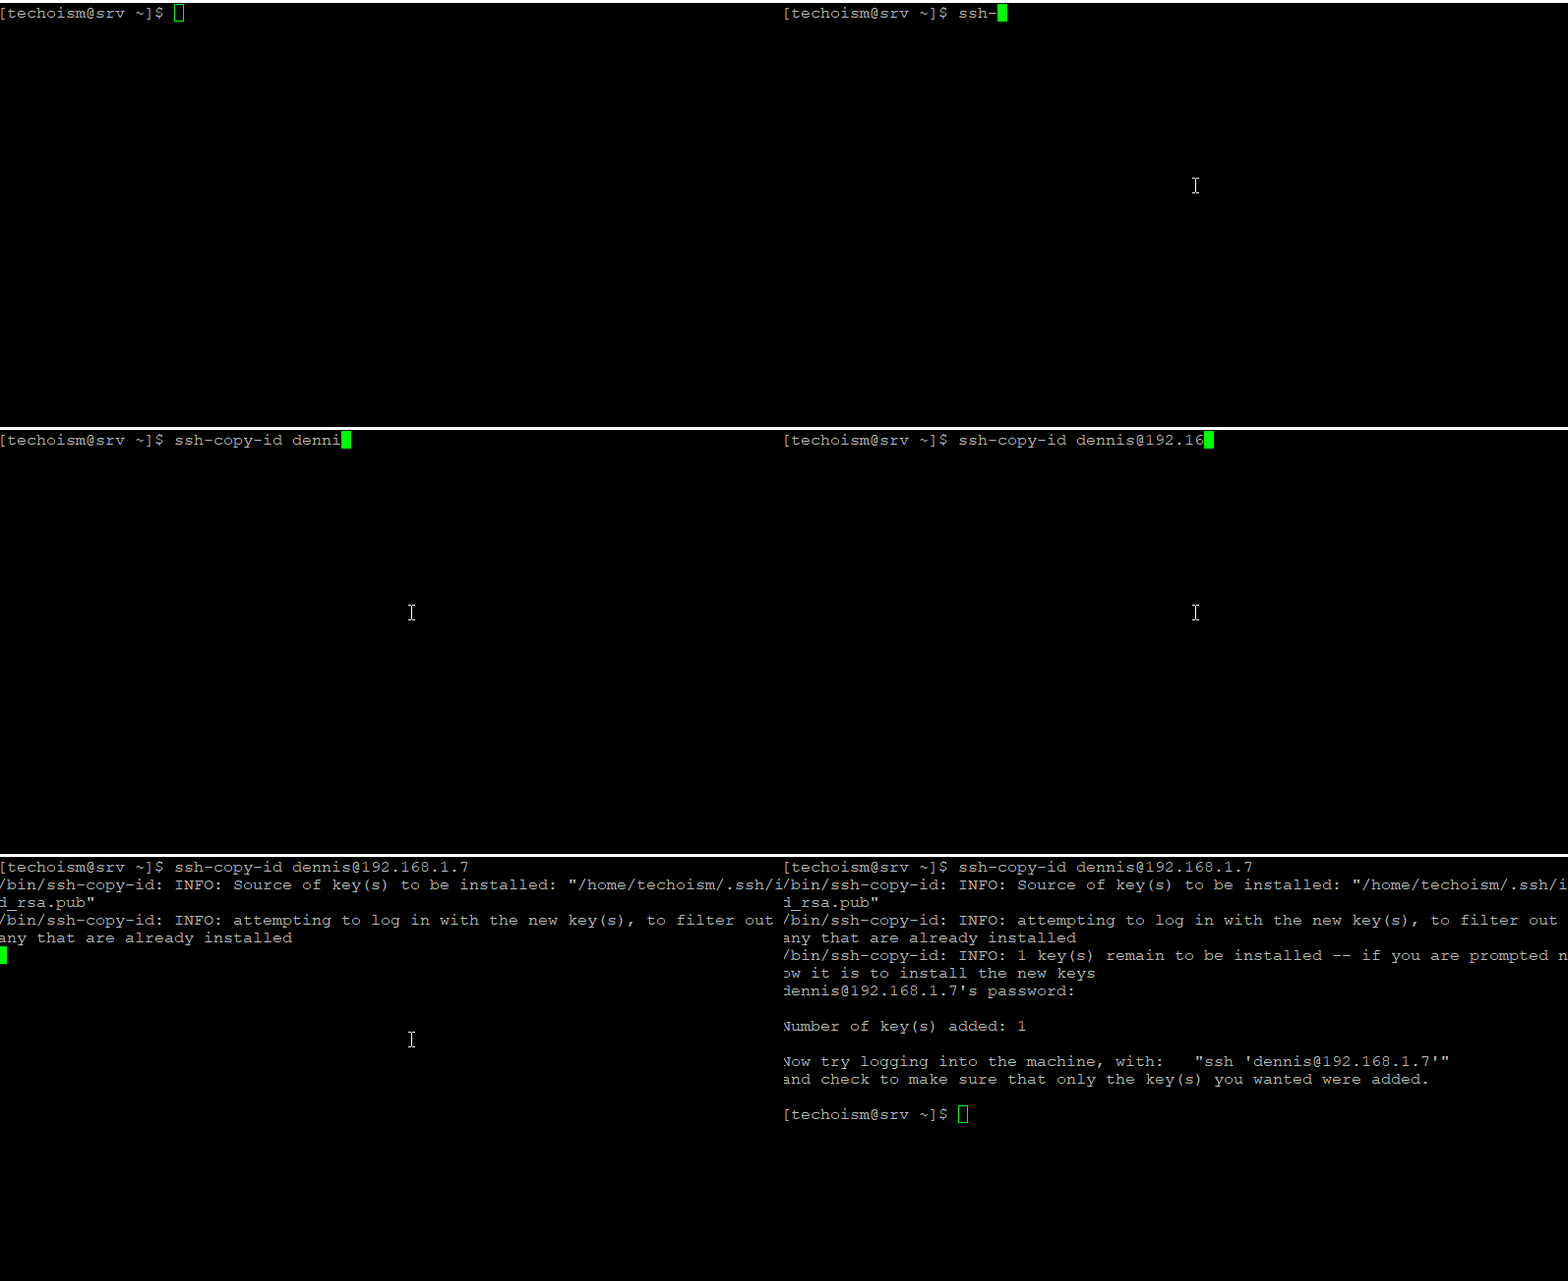
# ssh-copy-id dennis@192.168.1.7
 /bin/ssh-copy-id: INFO: Source of key(s) to be installed: "/home/techoism/.ssh/id_rsa.pub"
 /bin/ssh-copy-id: INFO: attempting to log in with the new key(s), to filter out any that are already installed
 /bin/ssh-copy-id: INFO: 1 key(s) remain to be installed -- if you are prompted now it is to install the new keys
 dennis@192.168.1.7's password:
 Number of key(s) added: 1
 Now try logging into the machine, with:   "ssh 'dennis@192.168.1.7'"
 and check to make sure that only the key(s) you wanted were added.
Step 4: Test Passwordless Login
Now access the remote machine using SSH. It will take you to the shell directly without asking password.
# ssh dennis@192.168.1.7
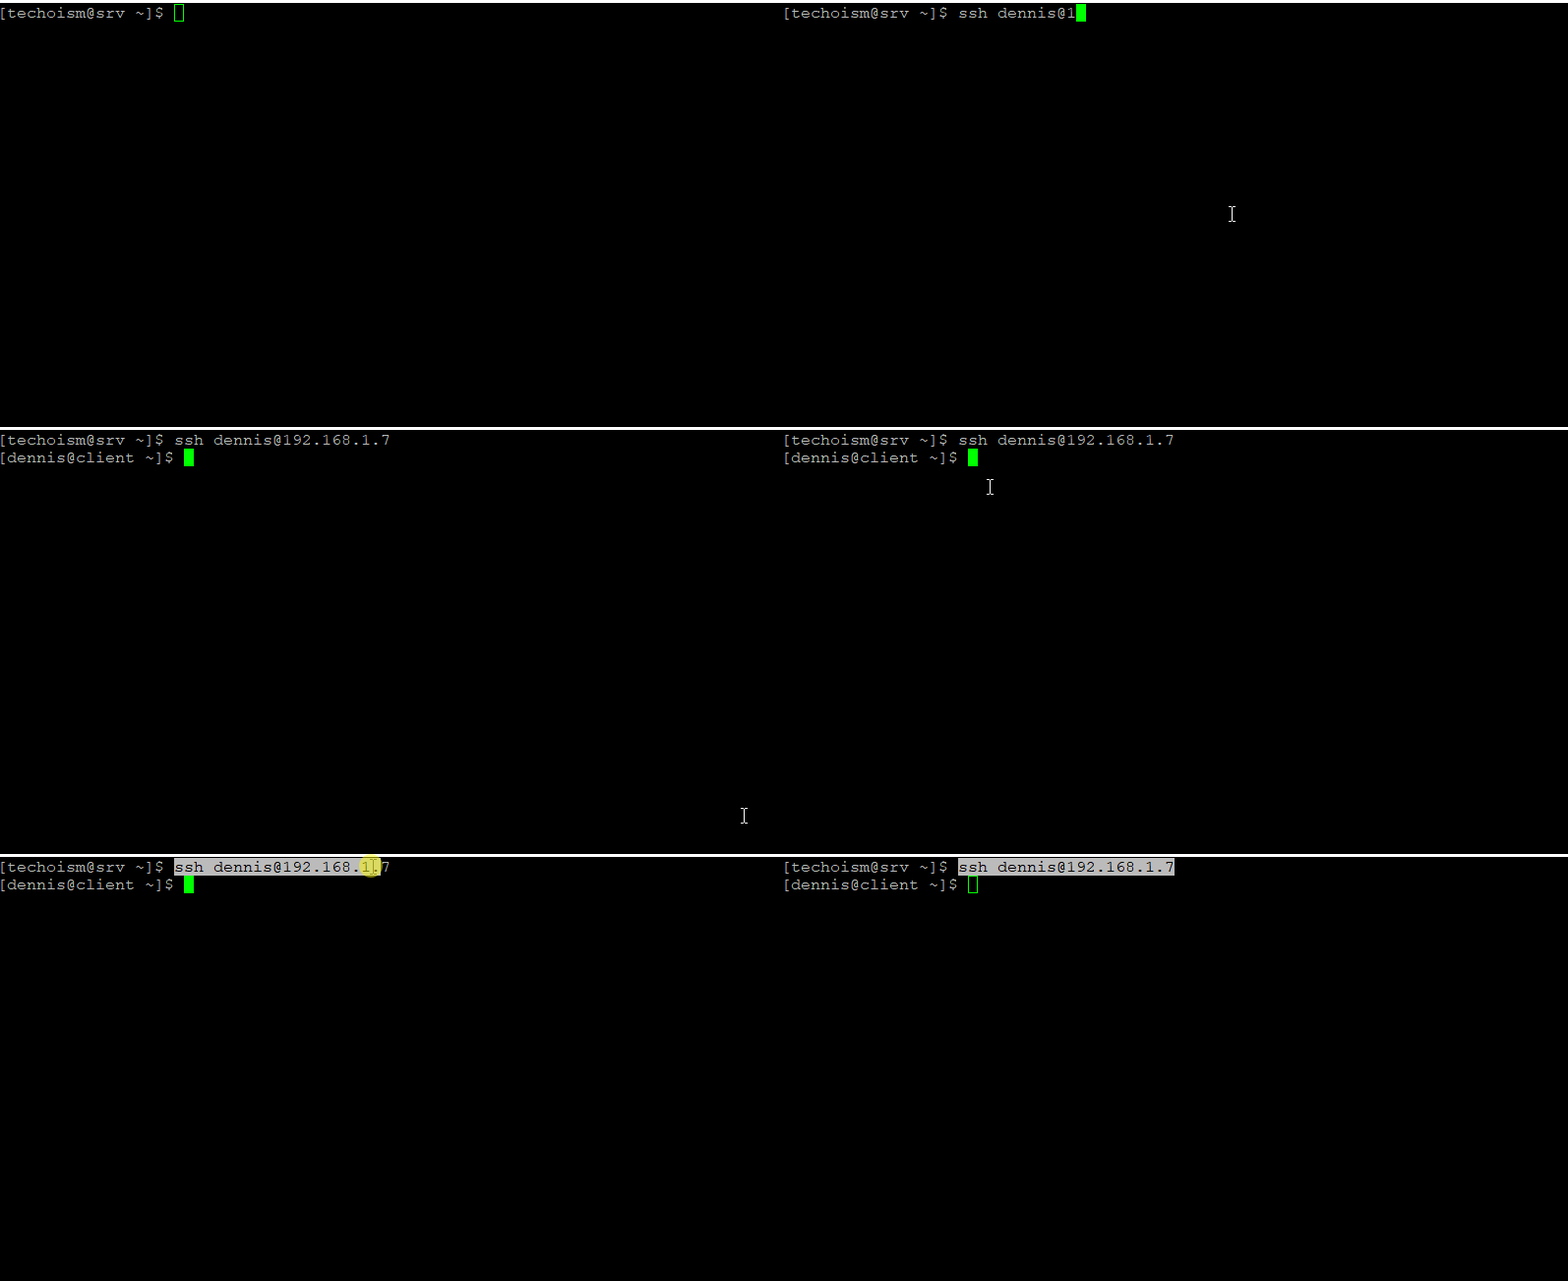
Enjoy it!
