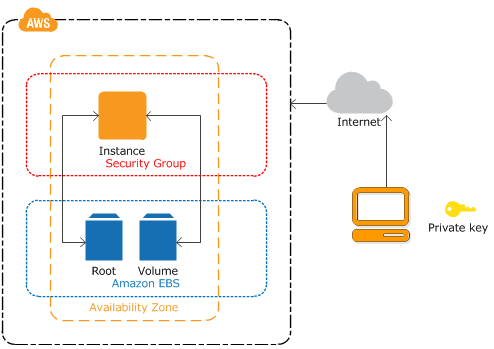
Launch an Amazon EC2 Instance
You can use Amazon EC2 to launch as many or as couple of virtual servers as you need, design security and networking, and manage storage. Amazon EC2 empowers you to scale up or down to handle changes in requirements.
1) Login to the AWS Account. Either using root or IAM account.
NOTE: It is highly recommended to use IAM account to carry out day to day AWS administrative tasks.
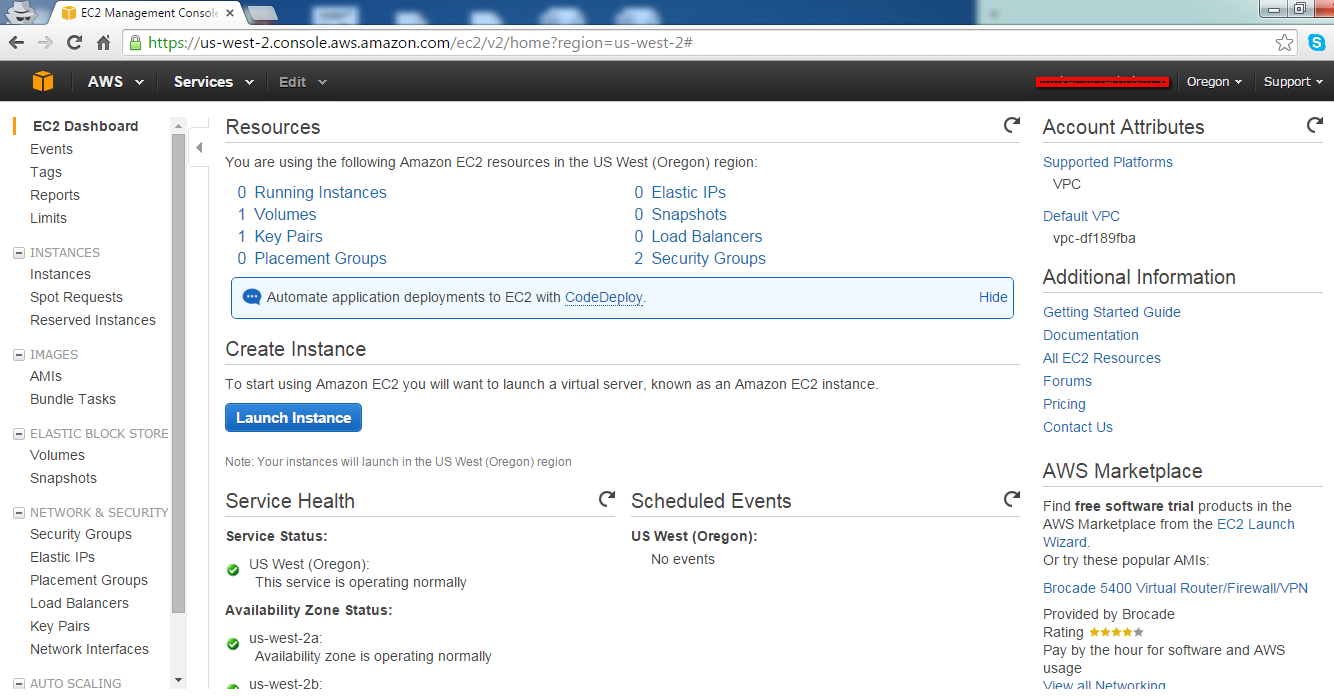
2) Click Launch Instance from EC2 dashboard.
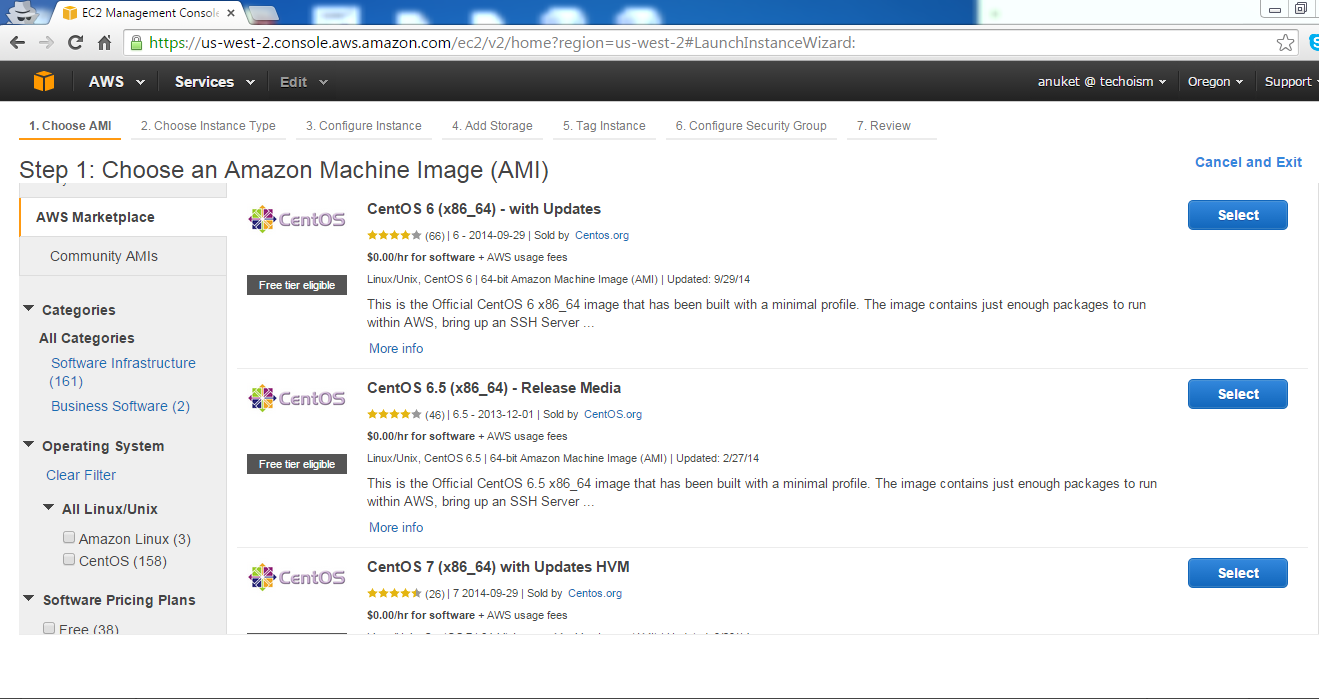
3) Choose an Amazon Machine Image (AMI) page displayes a list of basic configurations, that serve as templates for your instance.
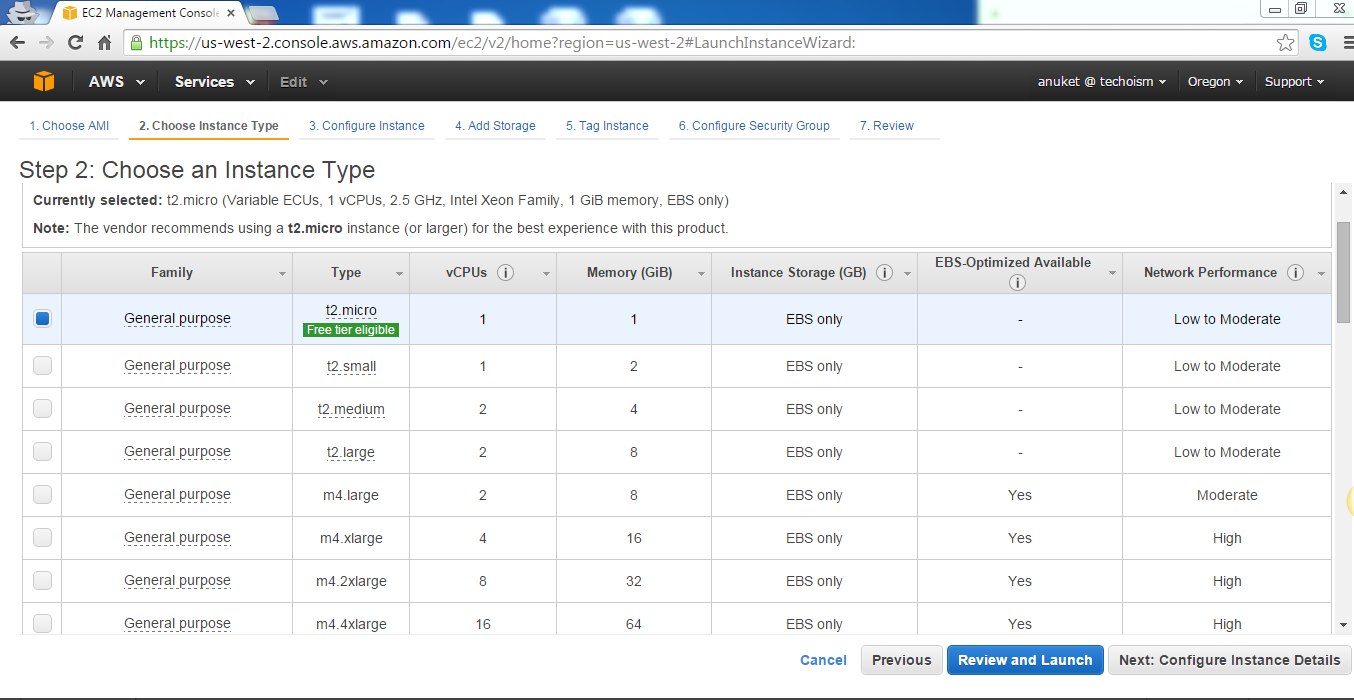
4) Now Choose an Instance Type page, you have to choose an instance according to your requirement. If you want to use “Free tier eligible” then select t2.micro.
5) You can launch multiple instances from the same AMI and click on Next: Add Storage
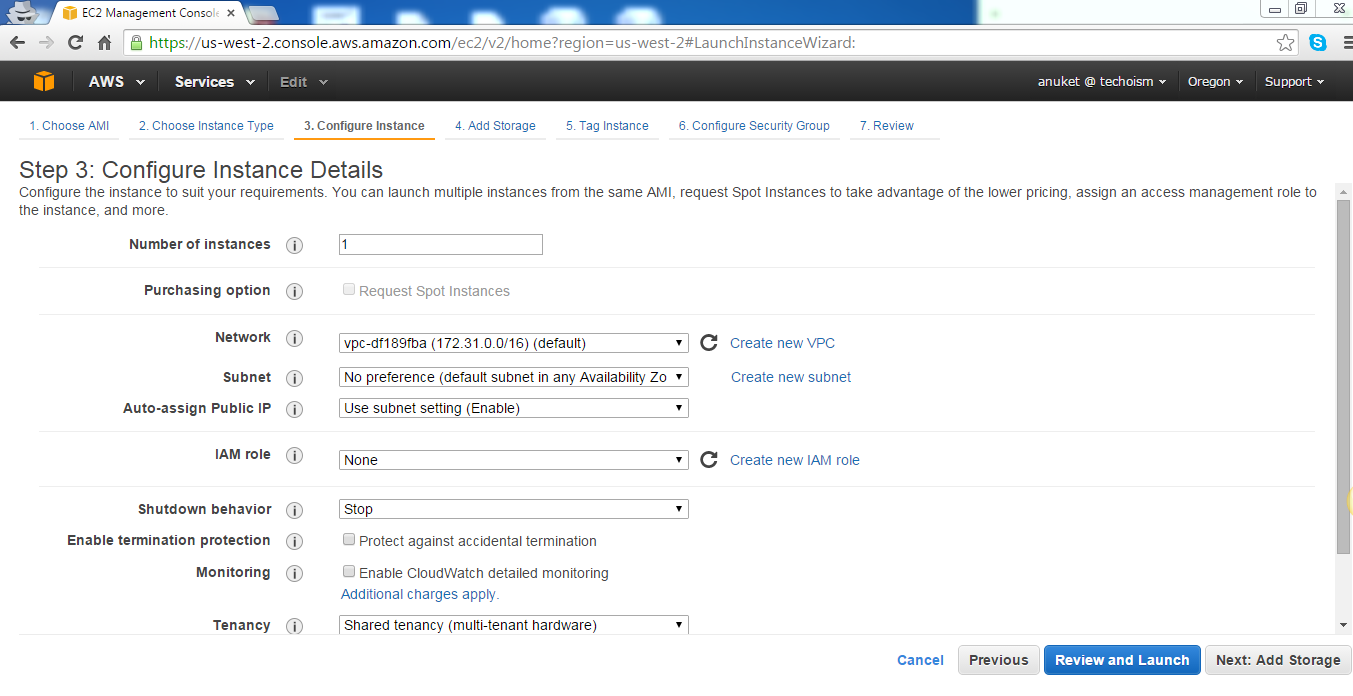
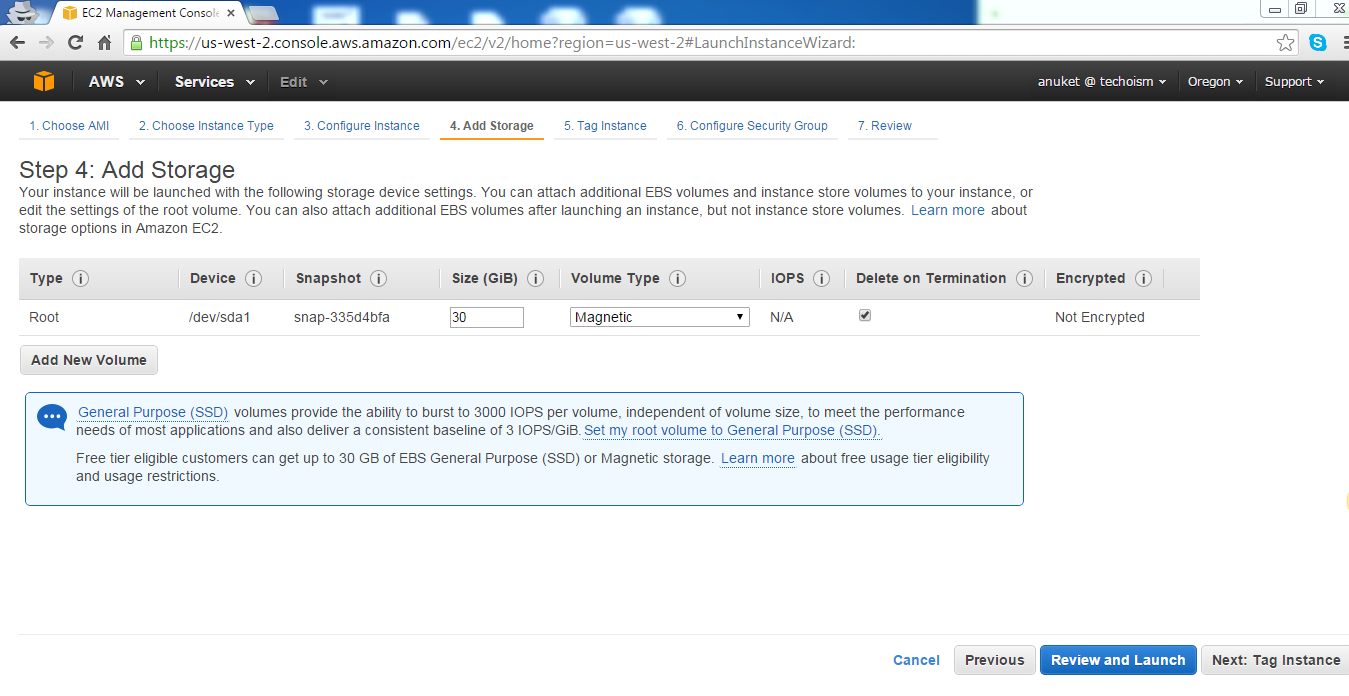
6) Your instance will be launched with the following storage device settings. You can attach additional EBS volumes and instance store volumes to your instance, or edit the settings of the root and select your VPC from the Network list and select a subnet from the Subnet list.
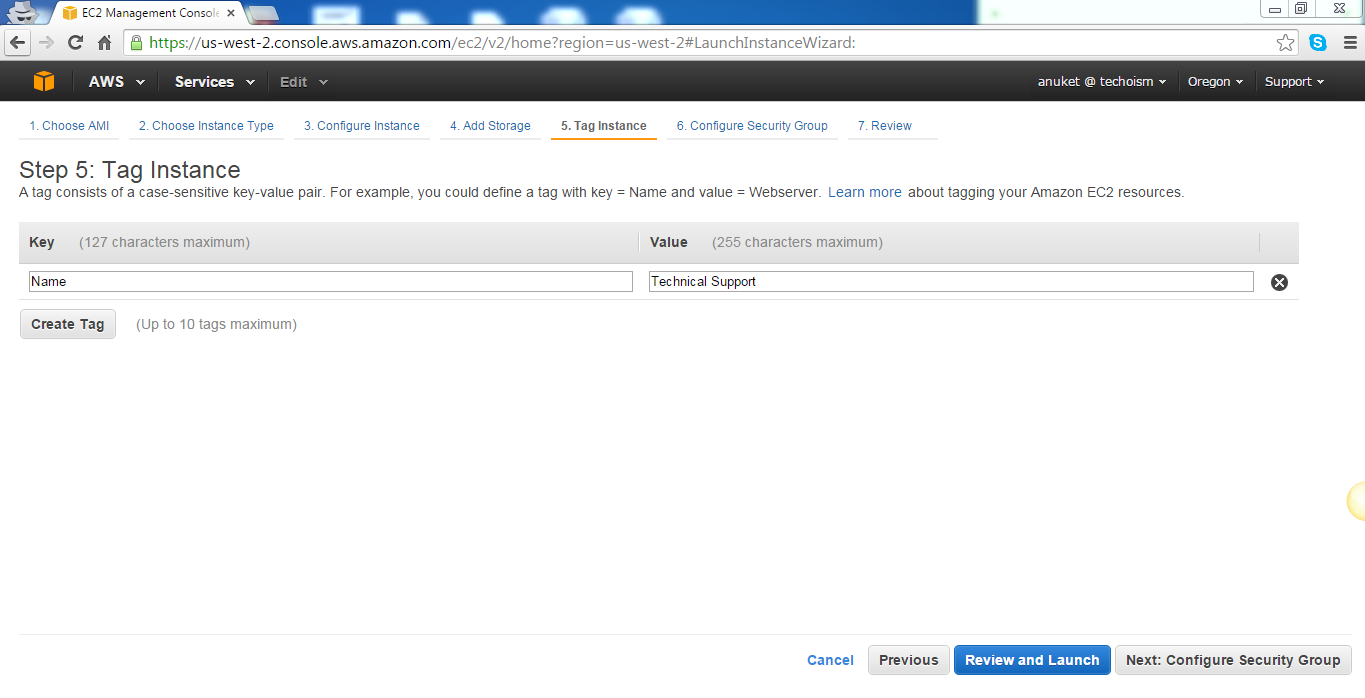
7) A tag consists of a case-sensitive key-value pair.
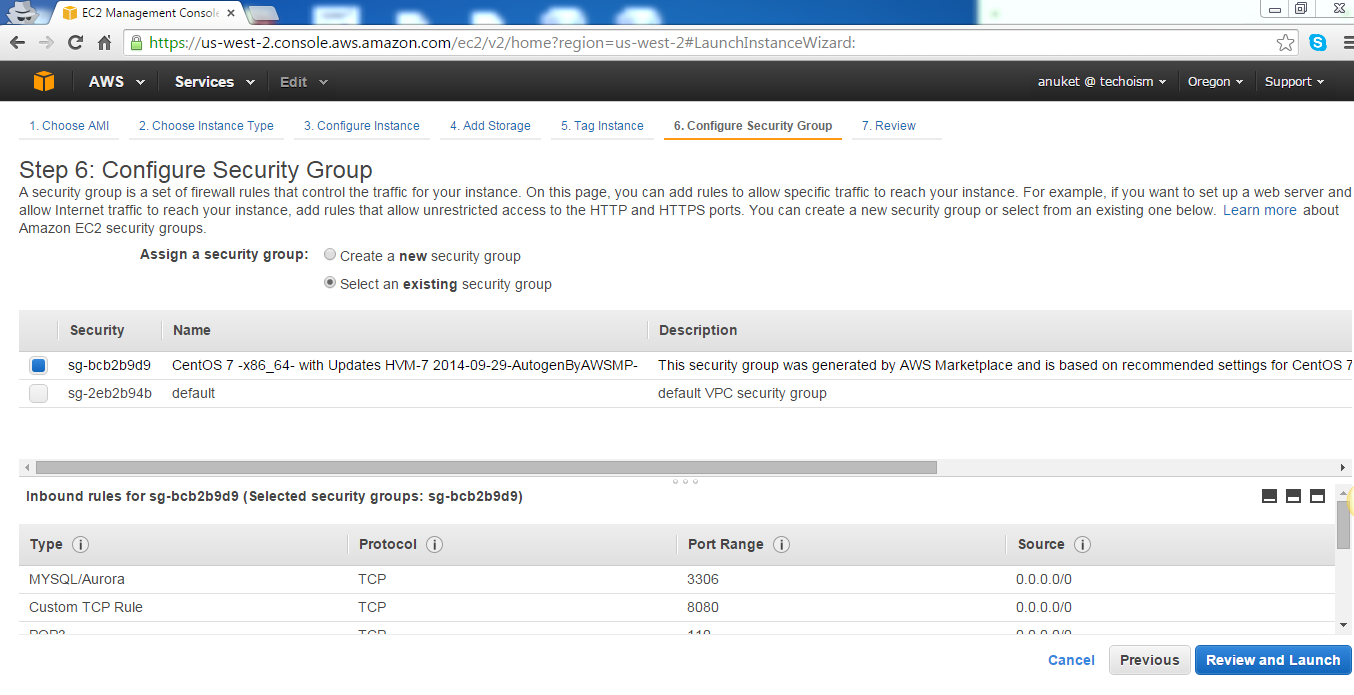
8) A security group is a set of firewall rules that control the traffic for your instance. On this page, you can add inbound and outbound rules to allow specific traffic to reach your instance. You can create a new security group or select an existing group.
9) Select the boot volume type for this instance.
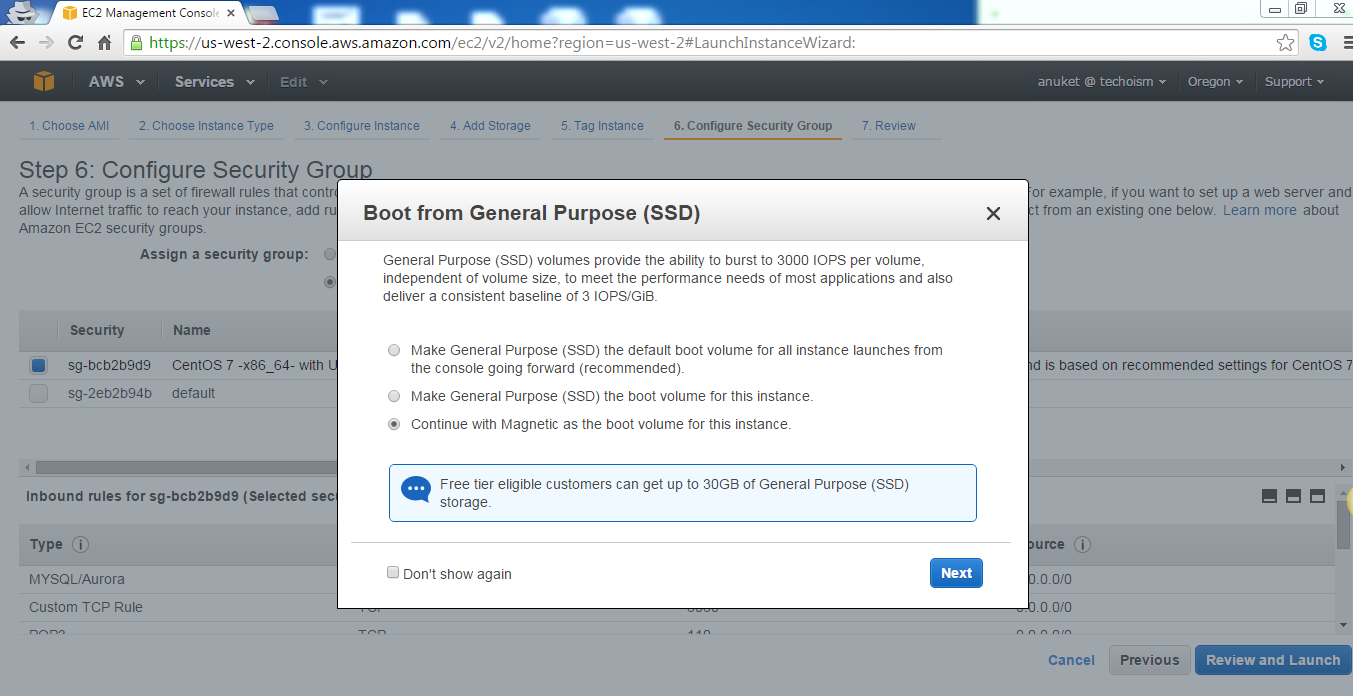
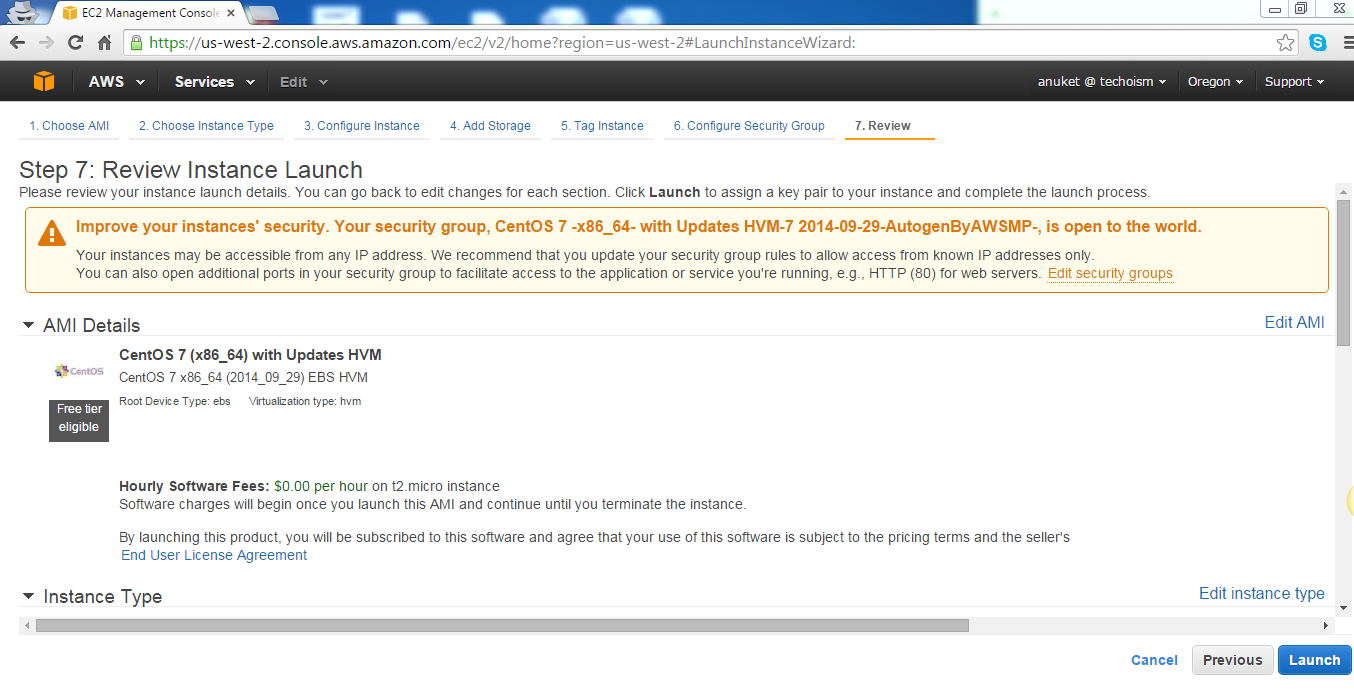
10) Review you instance launch details. Click Launch to assign a key pair to your instance.
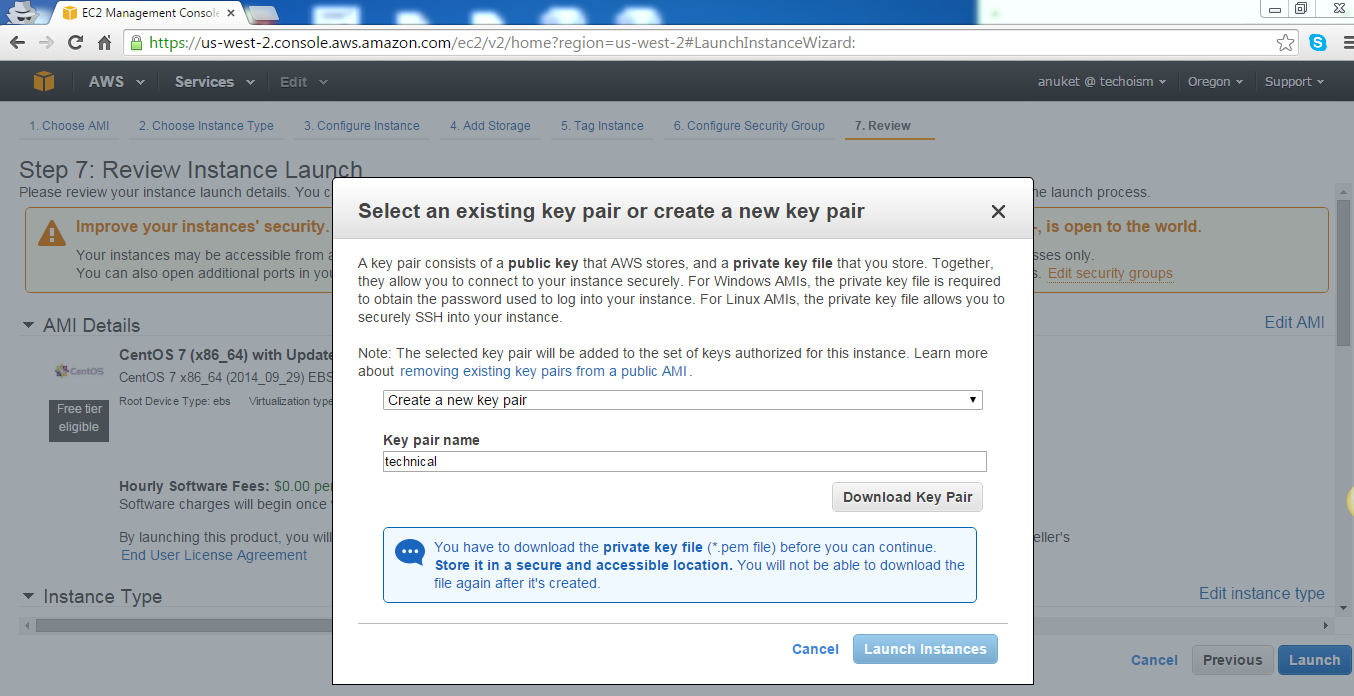
11) A key pair consists of a public key that AWS stores, and a private key file that you store.
12) Your instances are launching, and it will take a few minutes. You can also check launch log by clicking on View launch log.
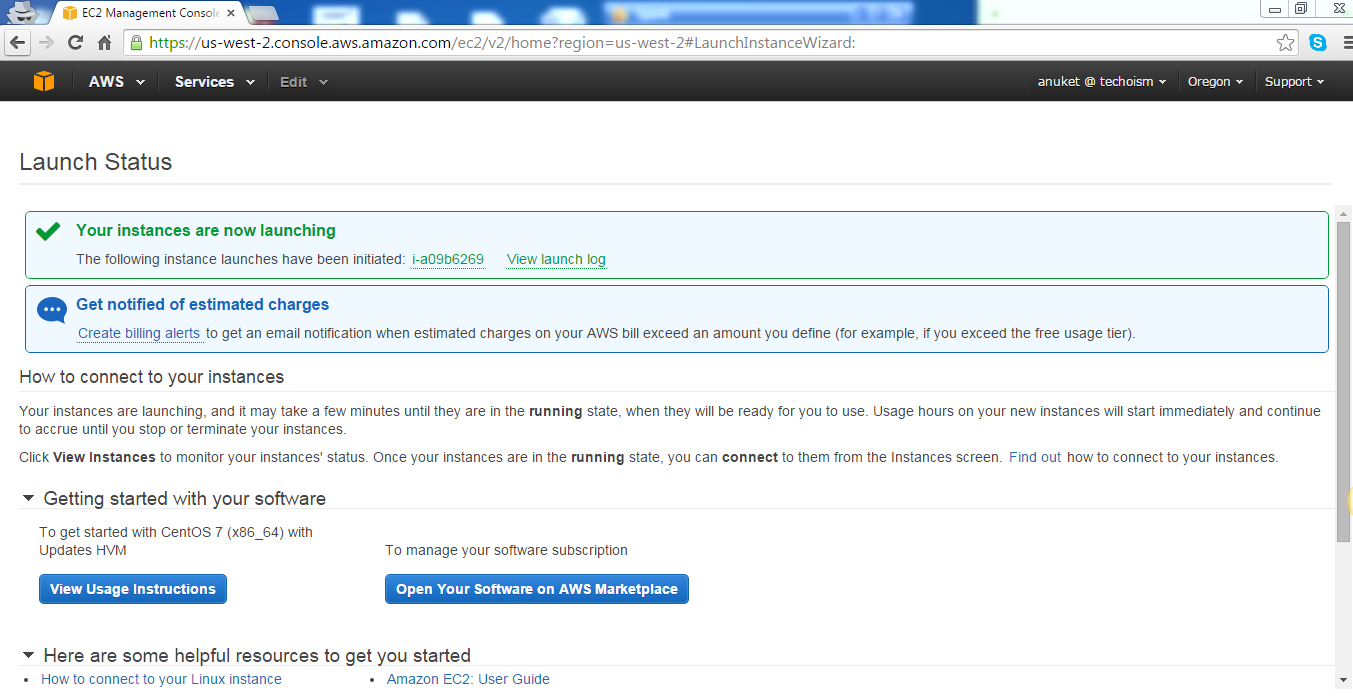
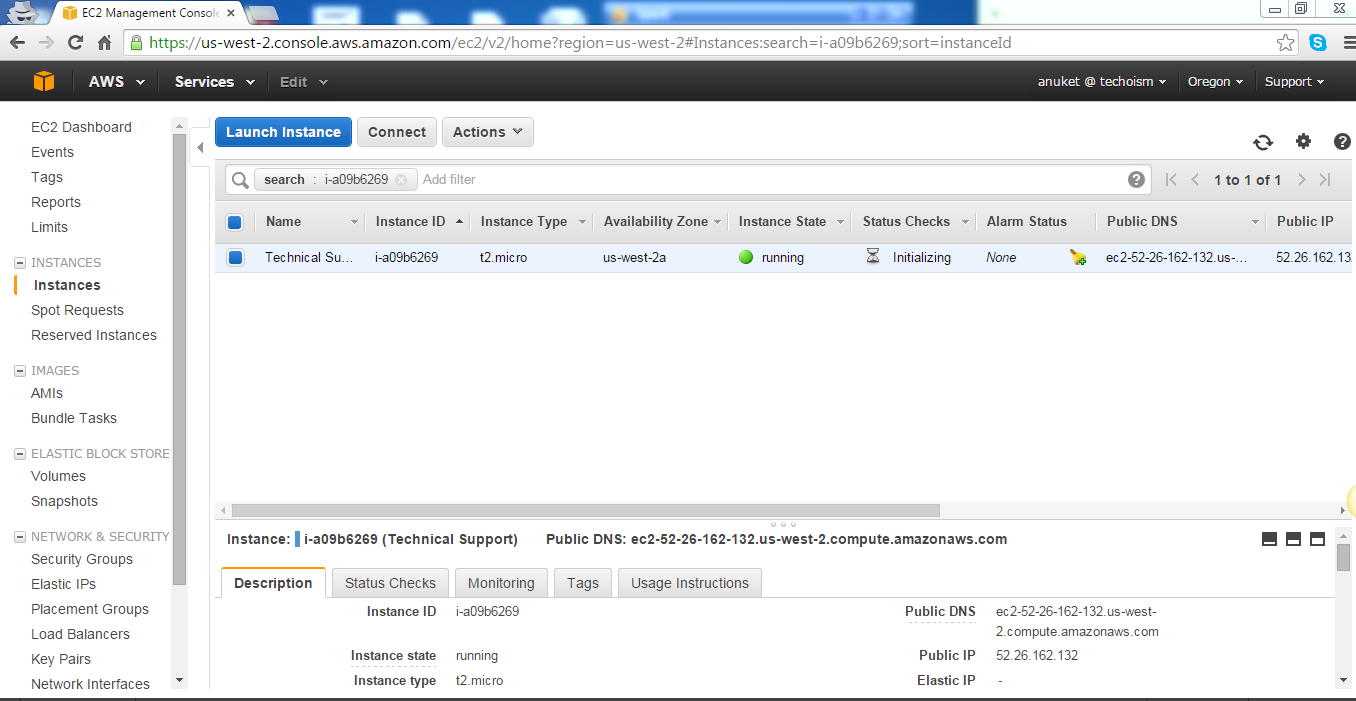
13) Click on Instances from your EC2 Dashboard. It takes a short time for an instance to launch. When your instance initial state is running you can use it.
Related Article:
Introduction of EC2 Instance in AWS
