How to Install WordPress Using Nginx on CentOS/RHEL 7/6/5
WordPress is the most widely used open source web blogging and content management software written in php and MySQL. In this article, I will show you how to install WordPress using Nginx on CentOS/RHEL 7/6/5.
Step #1 Prerequisite:
You’ll need to have a LEMP (Linux, Nginx, MySQL, and PHP) installed on your CentOS/RHEL server. If LEMP hasn’t installed or configured on server, you can use below articles to install LEMP.
On RHEL/CentOS 7
# yum install nginx mariadb mariadb-server php php-fpm php-common php-mysql php-gd php-xml php-mbstring php-mcrypt
On RHEL/CentOS 6/5
# yum install nginx mysql mysql-server php php-fpm php-common php-mysql php-gd php-xml php-mbstring php-mcrypt
Next, start the service to reflect changes.
On RHEL/CentOS 7
# systemctl start nginx
# systemctl start mysqld
# systemctl start php-fpm
On RHEL/CentOS 6/5
# service nginx start
# service mysqld start
# service php-fpm start
Install LAMP on CentOS/RHEL 7
Install LAMP on CentOS/RHEL 5/6
Step #2 Downloading & Extracting WordPress
WordPress content can be downloaded using the commands below.
# cd /opt
# wget https://wordpress.org/latest.tar.gz
Once the download finish, run the following command extract it.
# tar -xvzf latest.tar.gz -C /usr/share/nginx/html/
Next, change the permissions and ownership of the WordPress content folders.
# chown -R nginx:nginx /usr/share/nginx/html/wordpress
# chmod -R 755 /usr/share/nginx/html/wordpress
Step #3 Creating MySQL Database for WordPress
Now create a mysql database and user for wordpress. Use following set of command to create database and user.
# mysql -u root -p
mysql> CREATE DATABASE techoism_db;
mysql> GRANT ALL ON techoism_db.* to 'techoism_user'@'localhost' IDENTIFIED BY 'secretpassword';
mysql> FLUSH PRIVILEGES;
mysql> quit
Step #4 Creating Nginx VirtualHost
Open the Nginx configuration file with “vi” editor and add the following lines:
# vi /etc/nginx/conf.d/blog.techoism.conf
server {
        listen 80;
        server_name blog.techoism.com;
        root   /usr/share/nginx/html/wordpress;
        index index.php index.html;
        location / {
                     try_files $uri $uri/ @handler;
                    }
        location @handler {
                fastcgi_pass 127.0.0.1:9000;
                fastcgi_param SCRIPT_FILENAME /usr/share/nginx/html/wordpress/index.php;
                include /etc/nginx/fastcgi_params;
                fastcgi_param SCRIPT_NAME /index.php;
                          }
        location ~ .php$ {
                try_files $uri @handler;
                fastcgi_pass    127.0.0.1:9000;
                fastcgi_index   index.php;
                fastcgi_param SCRIPT_FILENAME /usr/share/nginx/html/wordpress$fastcgi_script_name;
                include fastcgi_params;
                        }
}
Next, restart the nginx service to reflect changes.
On RHEL/CentOS 7
# systemctl restart nginx
On RHEL/CentOS 6/5
# service nginx restart
Step #5 Configuring WordPress Installation
Use following command to configure WordPress installation.
# cd /usr/share/nginx/html/wordpress
# cp wp-config-sample.php wp-config.php
# chmod 777 wp-config.php
# chown nginx:nginx wp-config.php
Open wordpress configuration file and change MySQL setting.
# vi wp-config.php
// ** MySQL settings - You can get this info from your web host ** //
/** The name of the database for WordPress */
define('DB_NAME', 'techoism_db');

/** MySQL database username */
define('DB_USER', 'techoism_user');

/** MySQL database password */
define('DB_PASSWORD', 'redhat');

/** MySQL hostname */
define('DB_HOST', 'localhost');

/** Database Charset to use in creating database tables. */
define('DB_CHARSET', 'utf8');

/** The Database Collate type. Don't change this if in doubt. */
define('DB_COLLATE', '');
Step #6 WordPress Installation
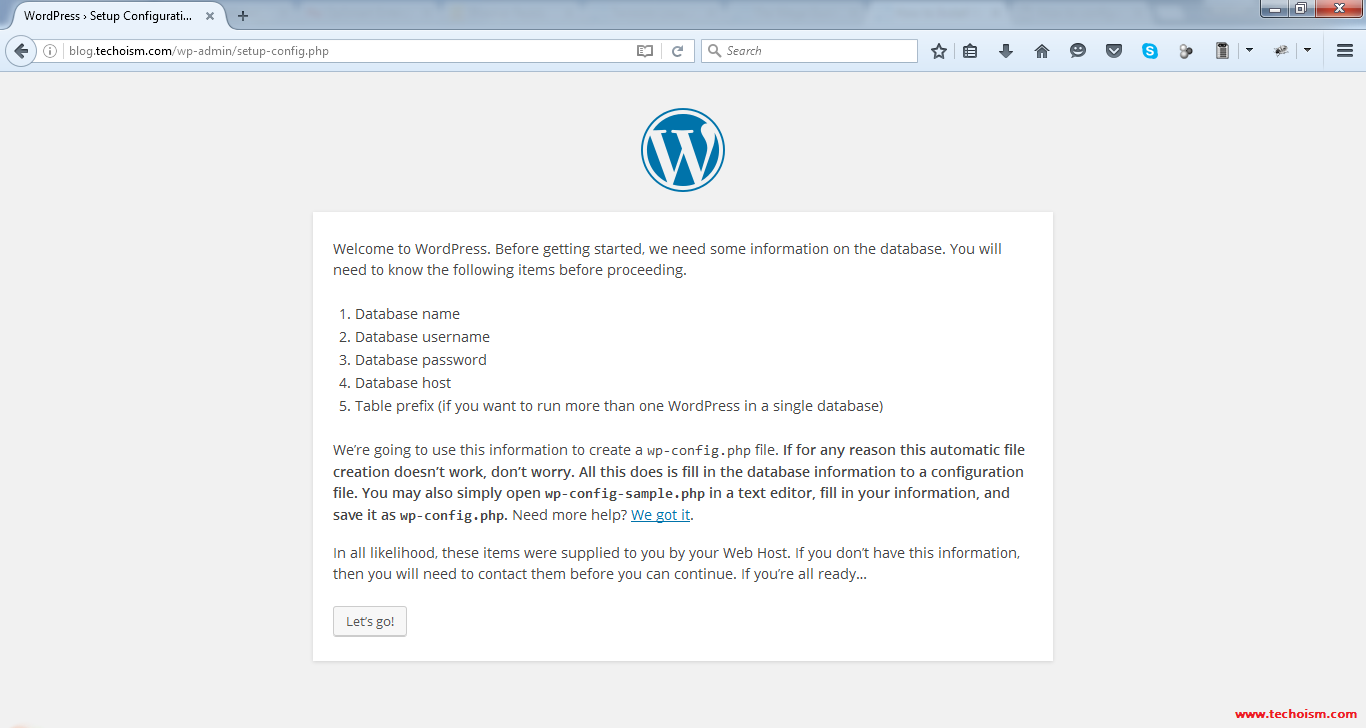
Open your browser and type any of the following address.
http://blog.techoism.com
http://Server-IP
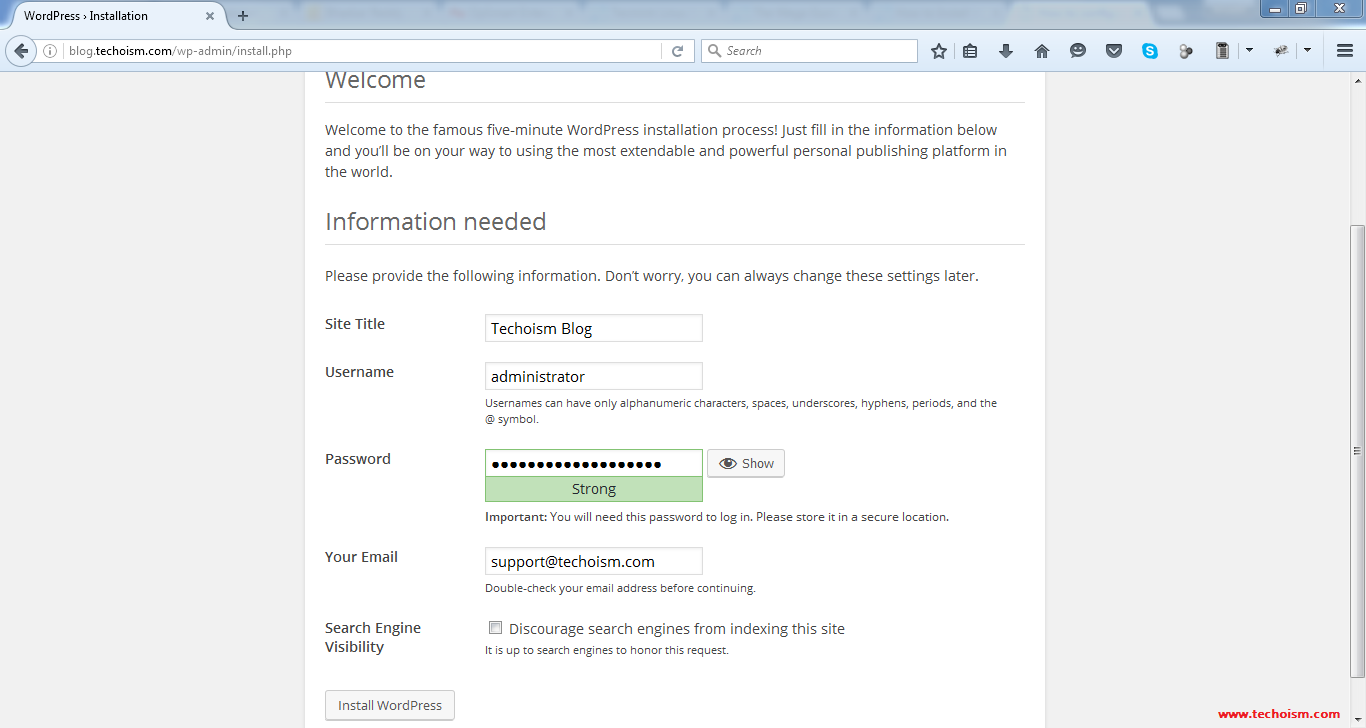
Give your Site Title, Admin User, Admin Password, Enter Your E-Mail and then click on Install button.
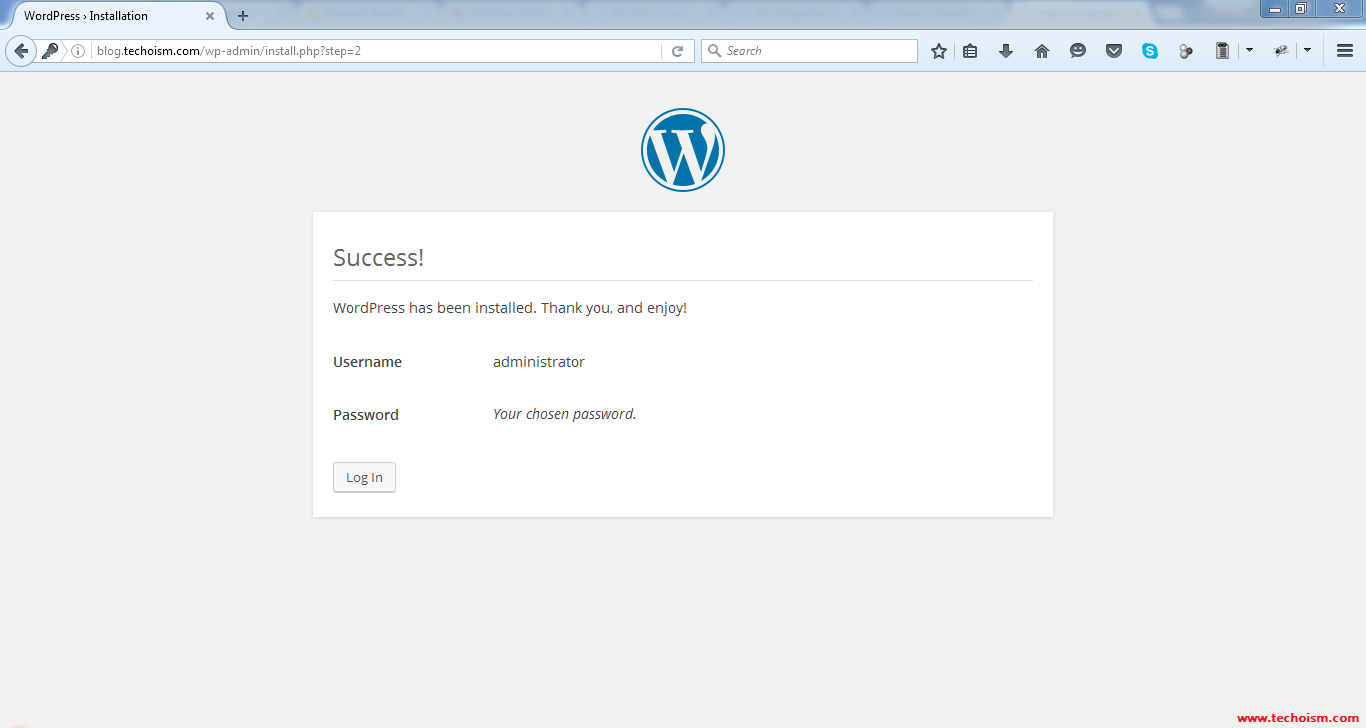
Login into your WordPress Dashboard.
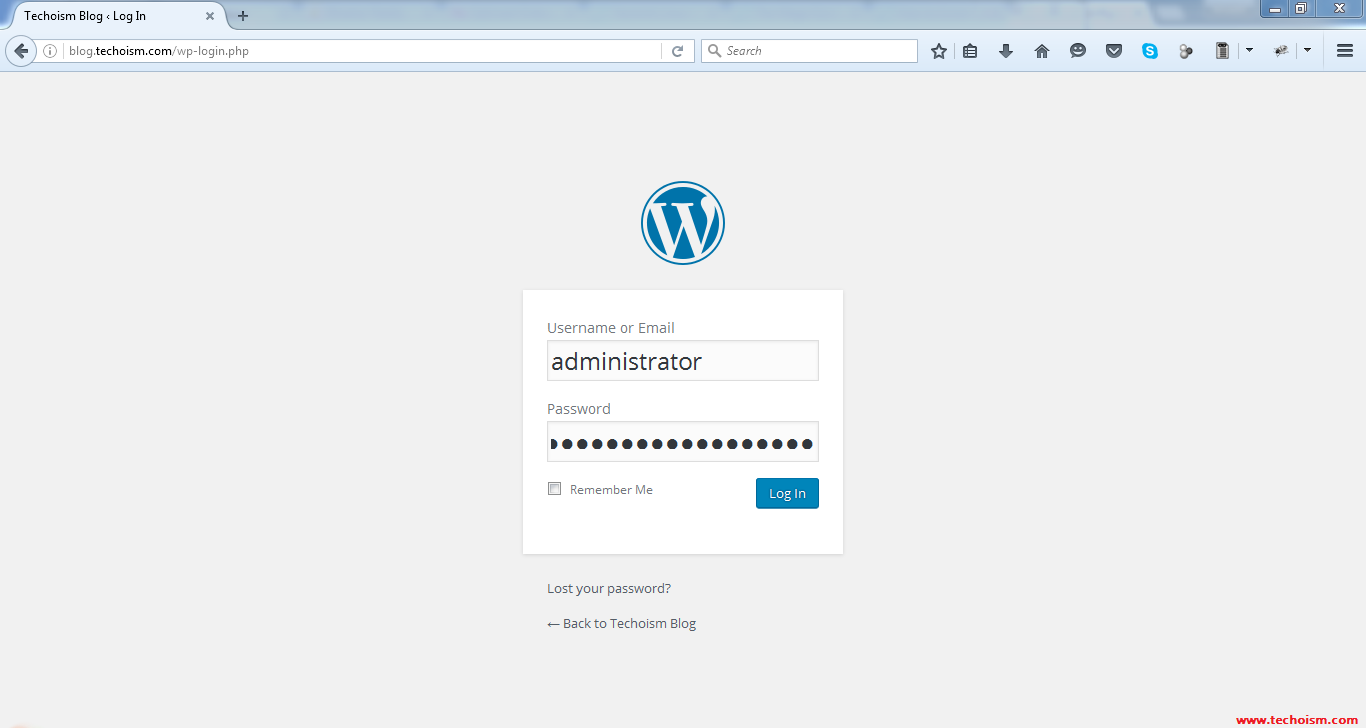
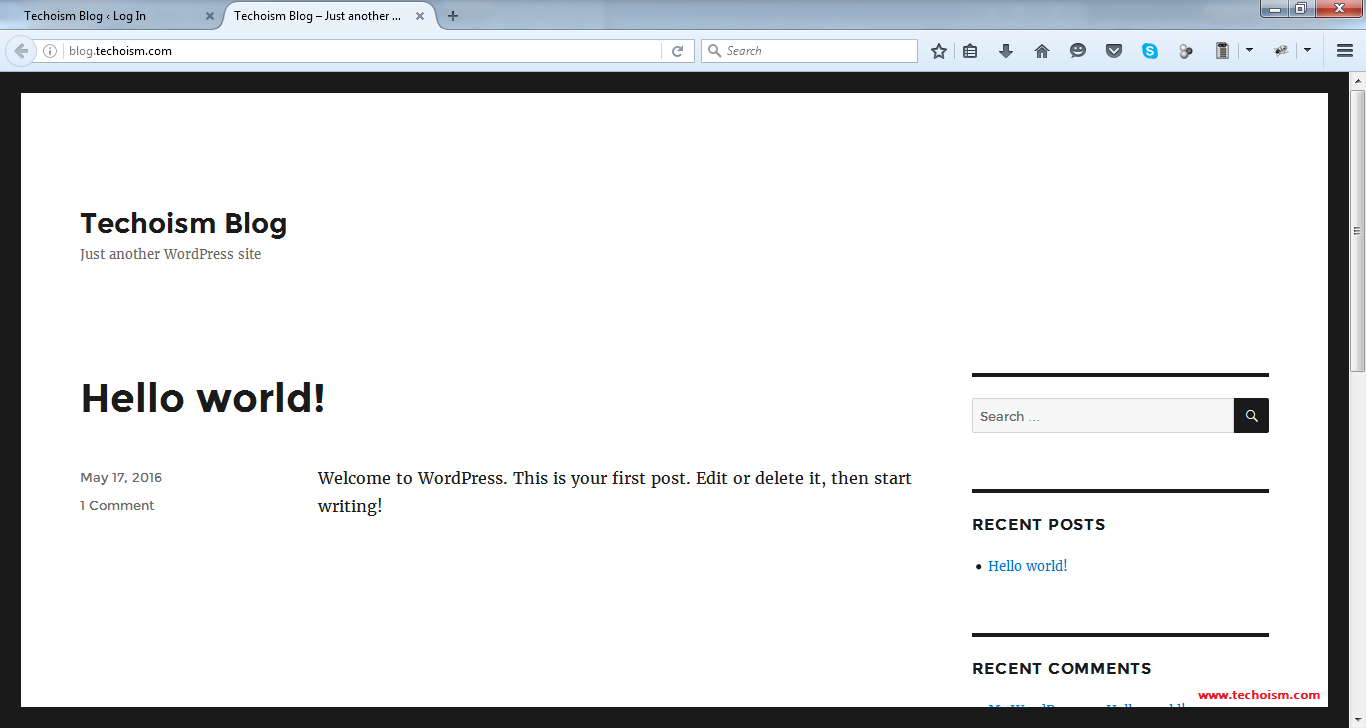
View your WordPress blog Dashboard.
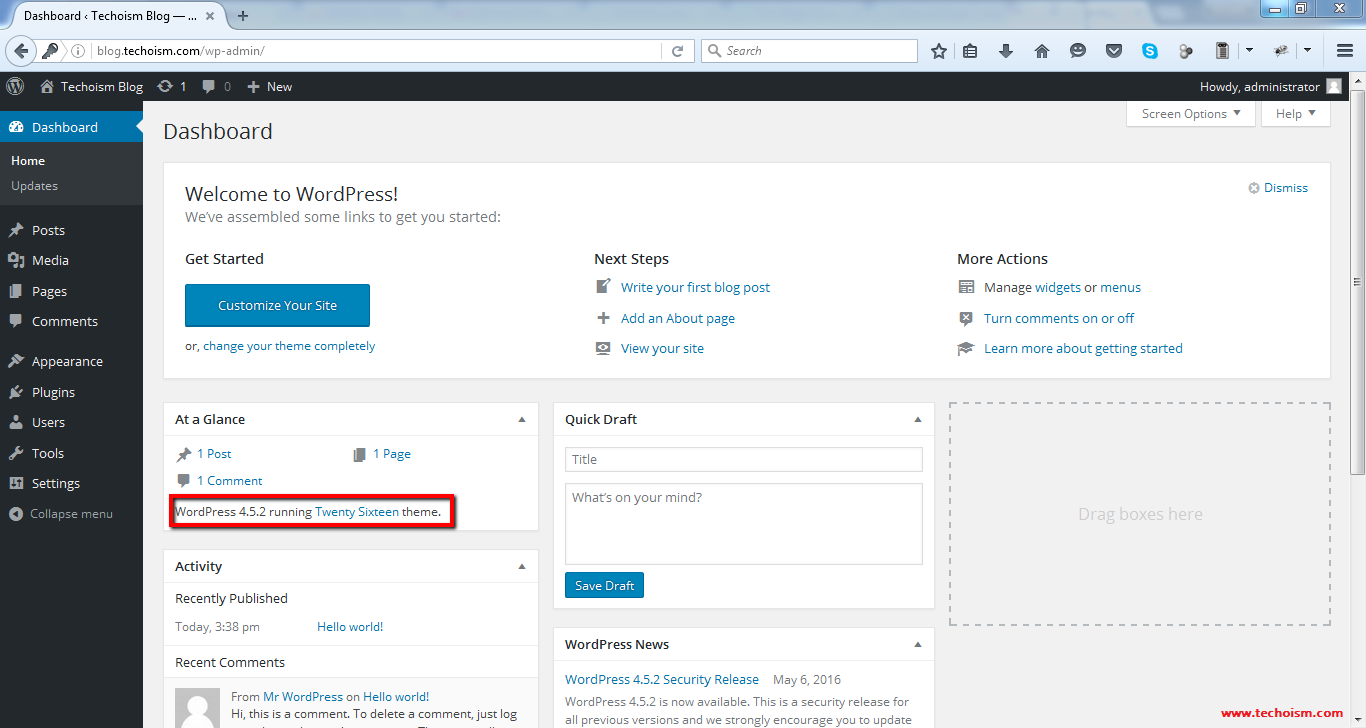
Enjoy it!

