How to install Nagios XI on CentOS/RHEL 7/6
Nagios XI is Network Monitoring tools which frequently check all of your network resources and send’ s email alerts before it’ s downtime and much more. Nagios XI is Commercial paid version similar to Nagios Core (open source version), but it has many features while compared to Nagios Core.

See Also:
- NAGIOS ERROR: COULD NOT OPEN COMMAND FILE ‘/USR/LOCAL/NAGIOS/VAR/RW/NAGIOS.CMD’ FOR UPDATE!
- HOW TO INSTALL NAGIOS 4.1.1 ON UBUNTU
- STEPS TO CONFIGURE NAGIOS 4.1.1 ON CENTOS, RED HAT & FEDORA
- INSTALL NAGIOS 4.0.7 ON CENTOS/RHEL
This article will help you to install Nagios XI on CentOS/RHEL.
Step 1: Prerequisites
We have to installed all require packages first. Use the following commands to install all require packages.
# yum install wget curl libmcrypt-devel freetds-devel python-pip shellinabox snmptt
Step 2: Download Nagios XI
Download the source code of Nagios XI latest versions from
# cd /opt
# wget http://download.techoism.com/xi-5.5.11.tar.gz
Extract the archive file.
# tar -zxvf xi-5.5.11.tar.gz
Step 3: Compile and Install Nagios XI
Now, first we configure Nagios XI and to do as such we have to go to Nagios directory and run configure file.
# cd /opt/nagiosxi
# ./fullinstall
Note: Also you can use a single command to download and compile the latest version of Nagios XI.
# curl https://assets.nagios.com/downloads/nagiosxi/install.sh | sh
This script will do a complete install of Nagios XI by executing all necessary sub-scripts.

Now Installation of Nagios XI has been started.
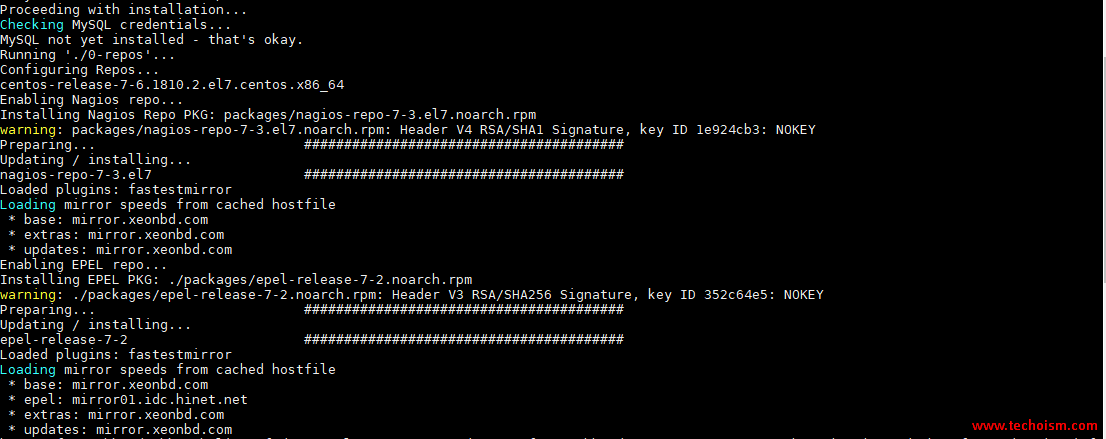
It will take some time to install the Nagios XI and you will get Nagios XI web interface URL.
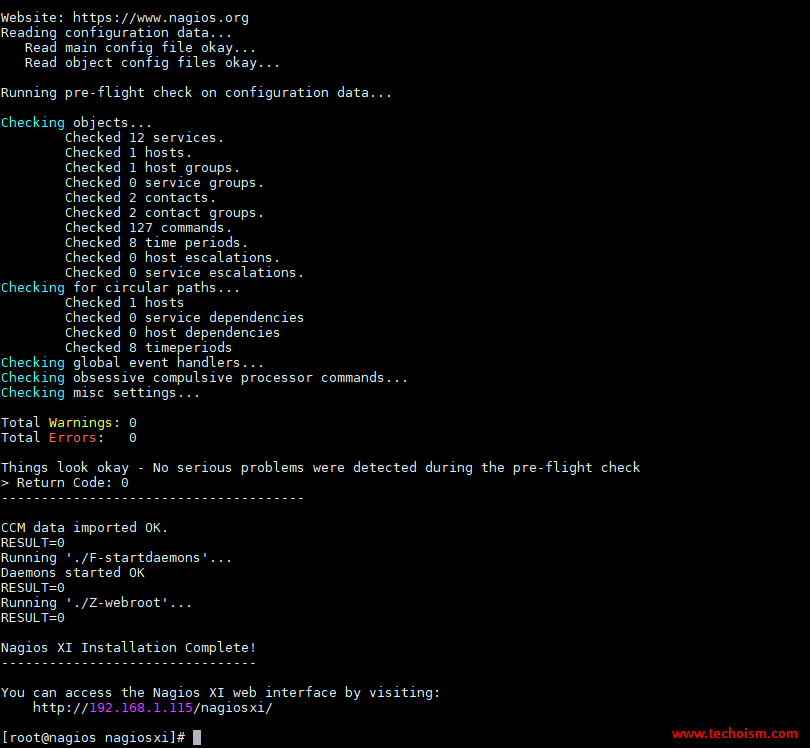
Step 4: Access Nagios XI
Now the installation is almost finish, let’ s finish it with configuring it via a web browser. Just login via using your web browser shown IP Address on the screen.
http://IP-Address/nagiosxi
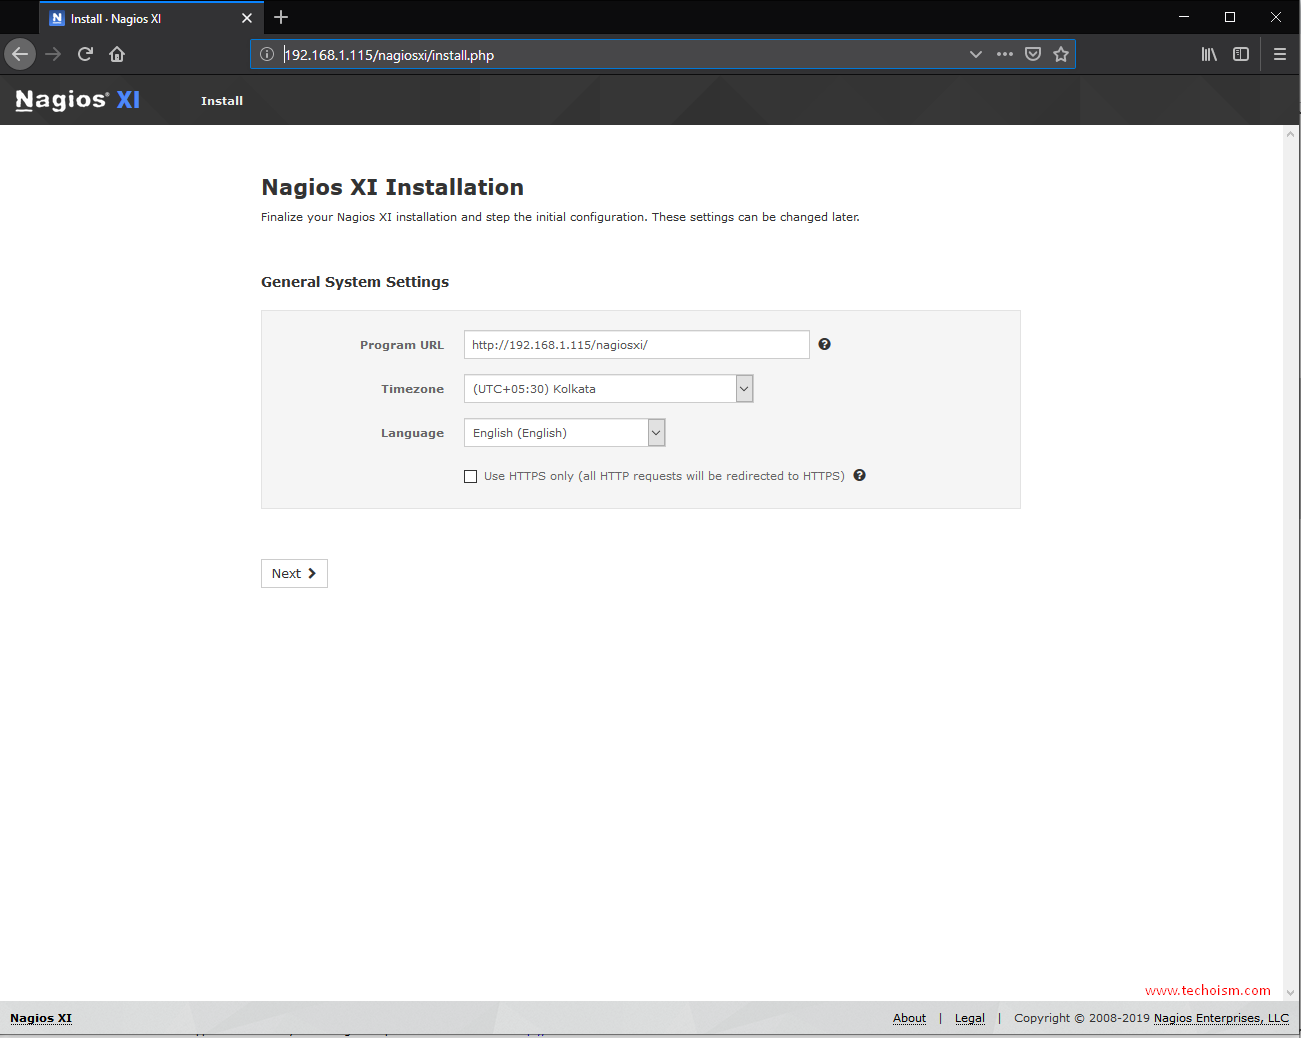
Finalize your Nagios XI installation and step the initial configuration. Do the system setting and click “Next”
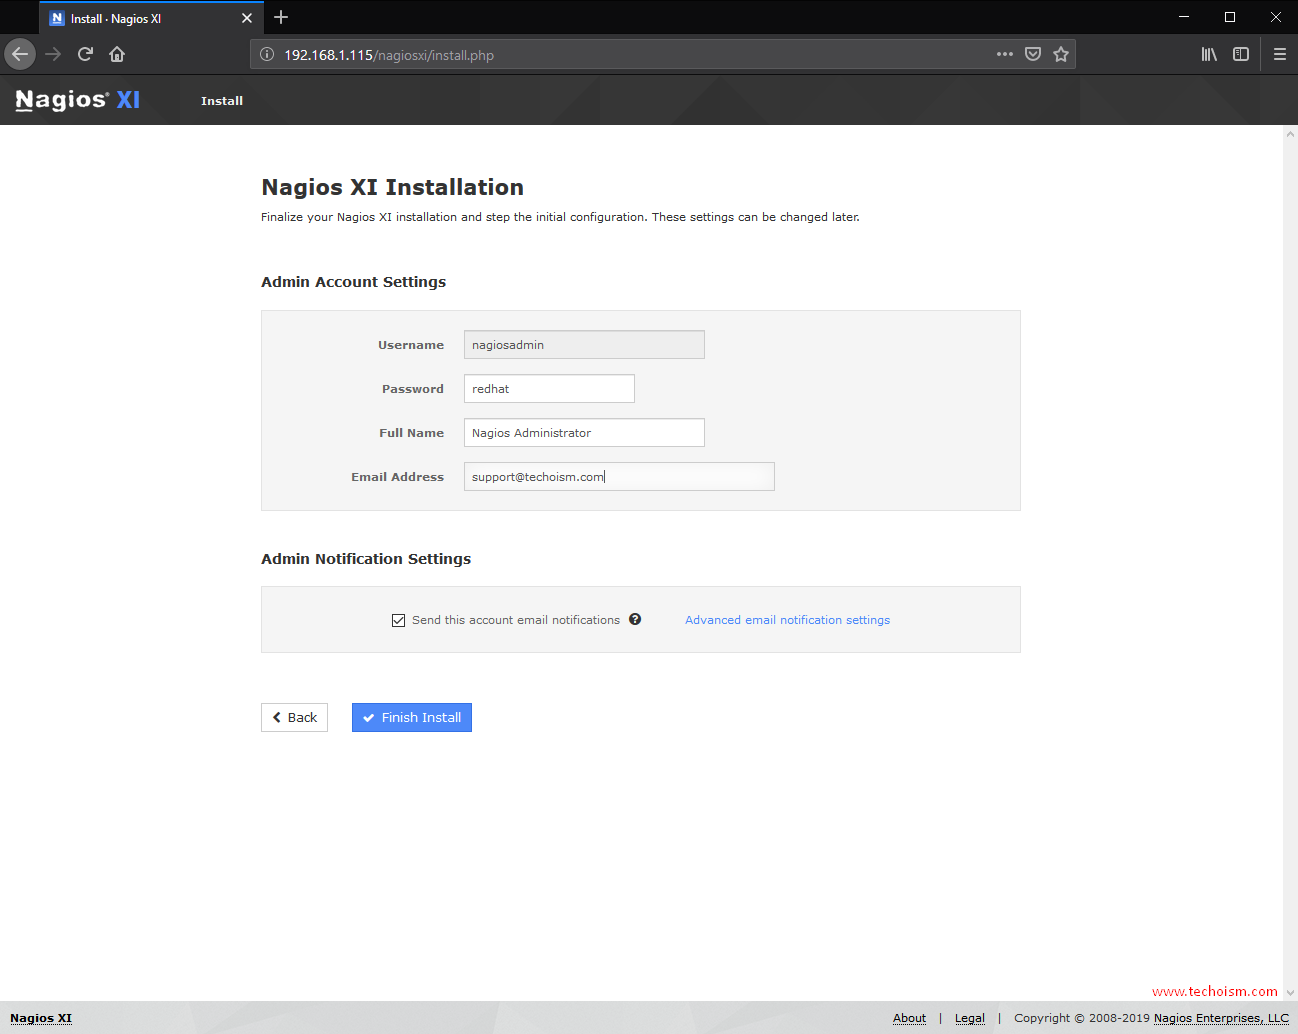
Fill the information of Admin account setting and click on “Finish Install”
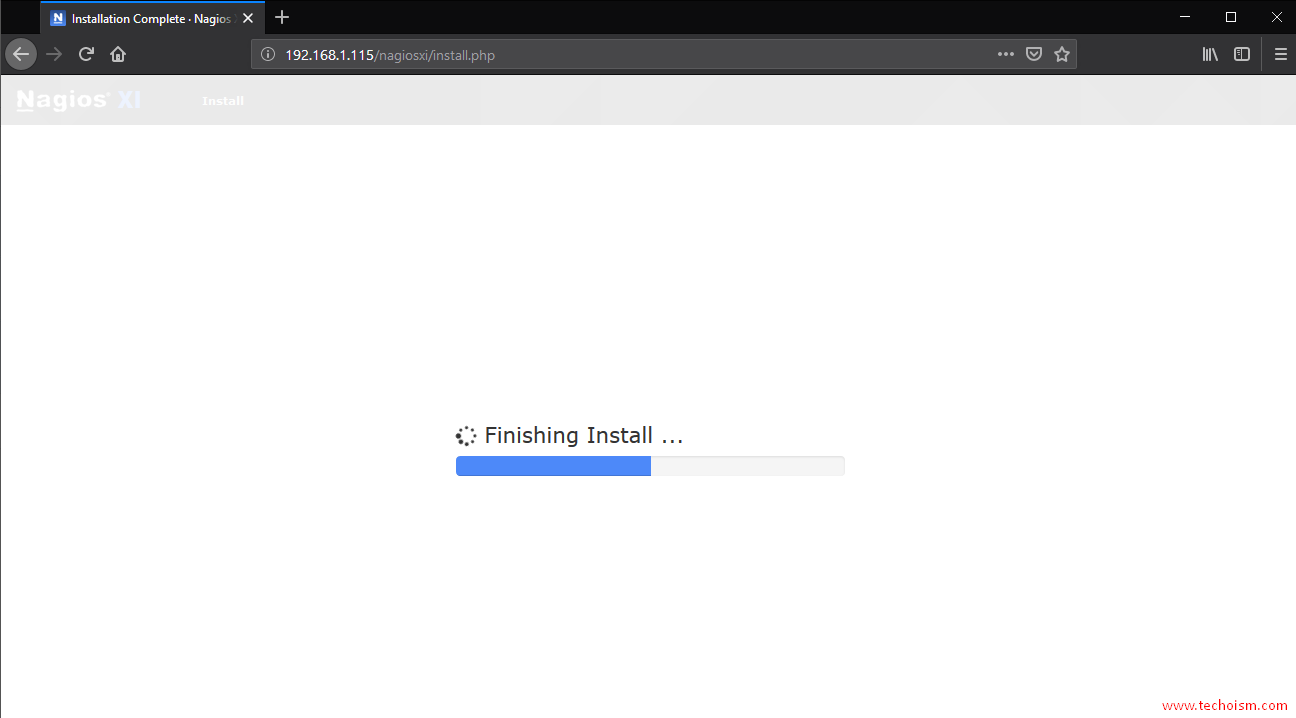
Installing has been finalizing.
Now Installation has been complete and you are ready to use Nagios XI.
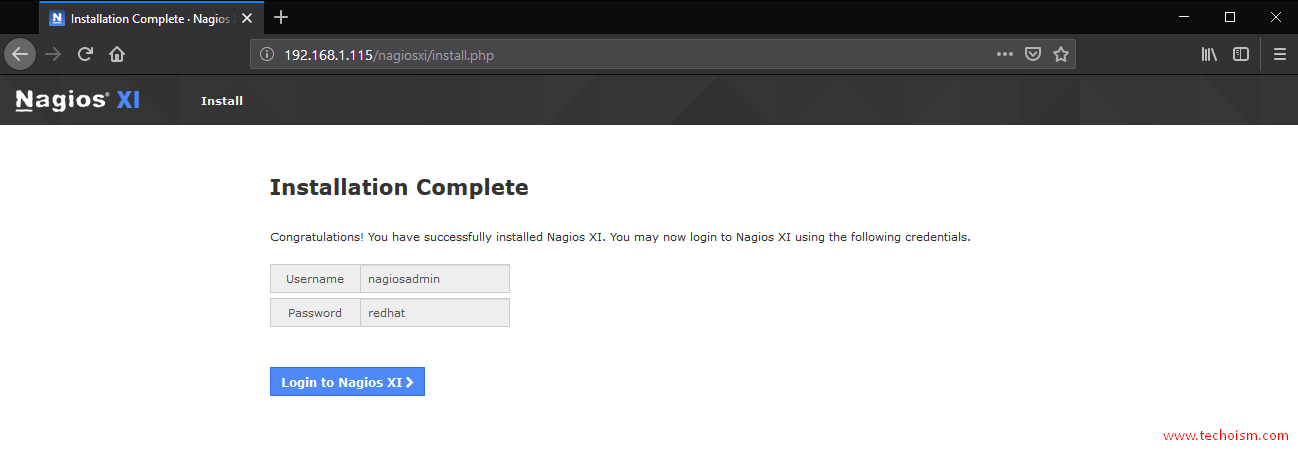
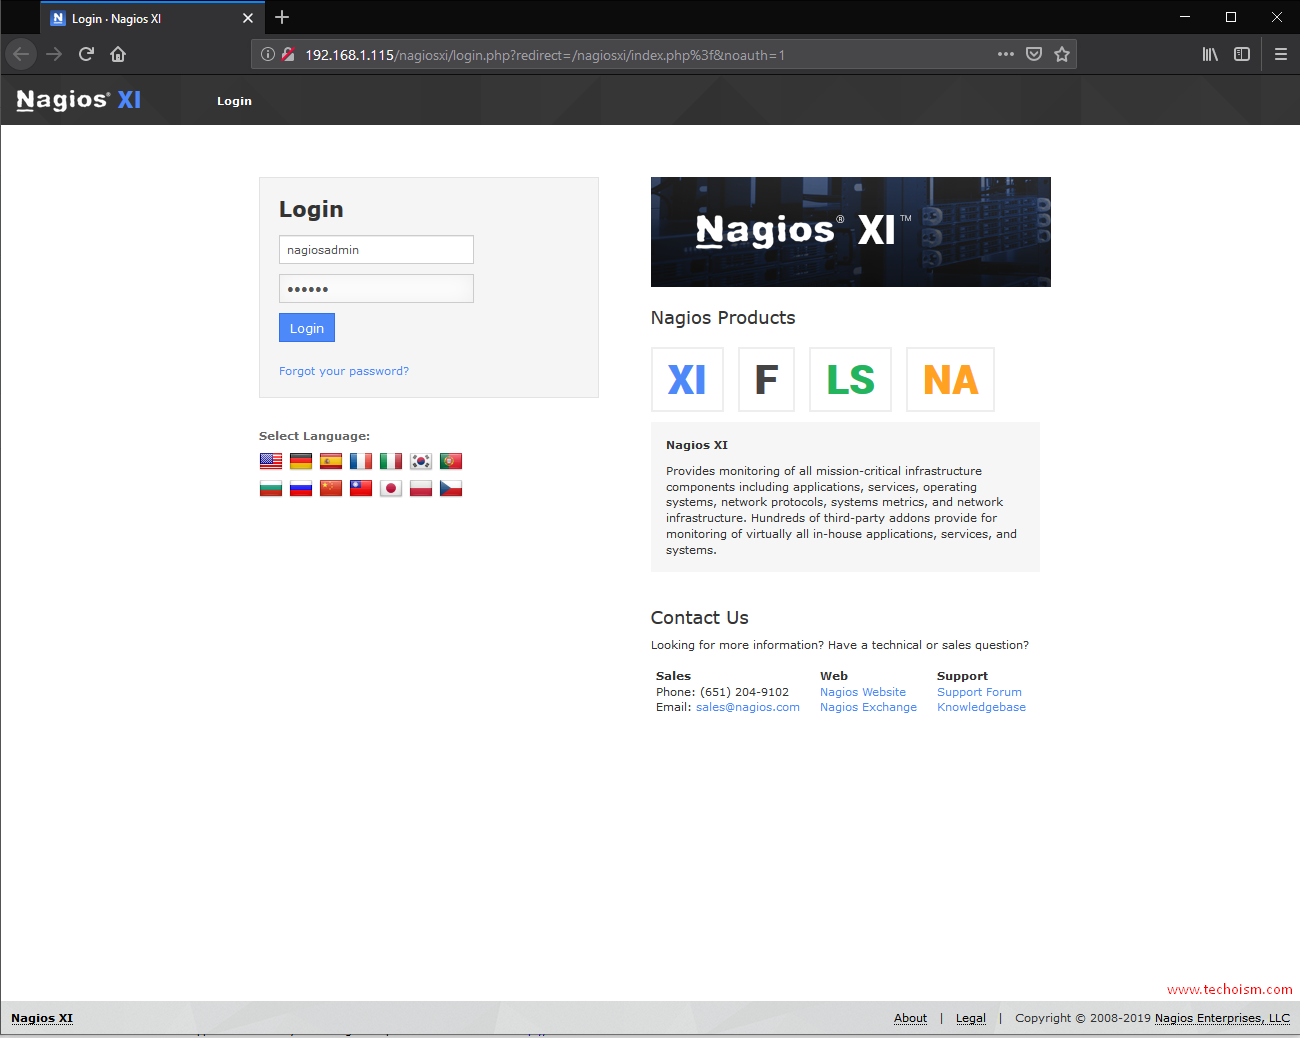
Step 5: Login into Nagios XI
Now you are ready to use Nagios XI. Login with your credentials.
Accept the Nagios XI License Agreement and submit.

If you want to take the tour of Nagios XI then click on “Next” else “End tour”

Now you have successfully login in Nagios XI.

Enjoy it!
