How to Install iRedMail Mail Server on CentOS/RHEL 7/6
iRedMail is open source mail server on Linux server. iRedMail gives numerous features, for example, it is totally safe and secure as the entirety of its components
- It provides Roundcube Webmail default MUA
- It used Postfix as an SMTP service (MTA)
- It used Dovecot as POP3/POP3S, IMAP/IMAPS service (MDA)
- An interface between Postfix and SpamAssassin, ClamAV. Used for spam and virus scanning.
- OpenLDAP, MariaDB, and PostgreSQL can be used to save mail accounts
- Fail2ban scans log files /var/log/maillog file and bans IPs that show malicious system attempts.
See Also:
- SENDMAIL AND SENDGRID CONFIGURATION SERVER-SIDE ON CENTOS/RHEL/UBUNTU
- CONFIGURING GMAIL AS A SENDMAIL EMAIL RELAY
- EMAIL ALERT SETUP FOR CSF
- HOW TO SETUP MAIL FORWARDING IN POSTFIX LINUX
Step 1: Prerequisite
First, we need to install some required packages before starting the installation of iRedMail.
On CentOS/RHEL:
# yum install bzip2 wget
On Ubuntu:
# apt-get install bzip2 wget
Also, you need to set a fully qualified domain name (FQDN) hostname on your server.
For CentOS/RHEL 7
# vim /etc/hostname
For CentOS/RHEL 6
# vim /etc/sysconfig/network
You can verify the FQDN using mention command.
# hostname -f
iredmail.techoism.com
Now you will need to disable your SELinux because iRedMail does not work with SELinux policies.
# vim /etc/sysconfig/selinux
Find the following line:
SELINUX=enforcing
Changed it to:
SELINUX=disabled
Reboot the machine to reflect the above changes.
# reboot
Step 2: Download and Extract iRedMail
Download the latest version of iRedMail from their Official Website or use the below link to download iRedMail.
# cd /opt
# wget https://bitbucket.org/zhb/iredmail/downloads/iRedMail-0.9.9.tar.bz2
Extract iRedMail using mention command.
# tar -jxf iRedMail-0.9.9.tar.bz2
Step 3: Install iRedMail
After extracting the file execute the iRedMail script to install an iRedMail mail server.
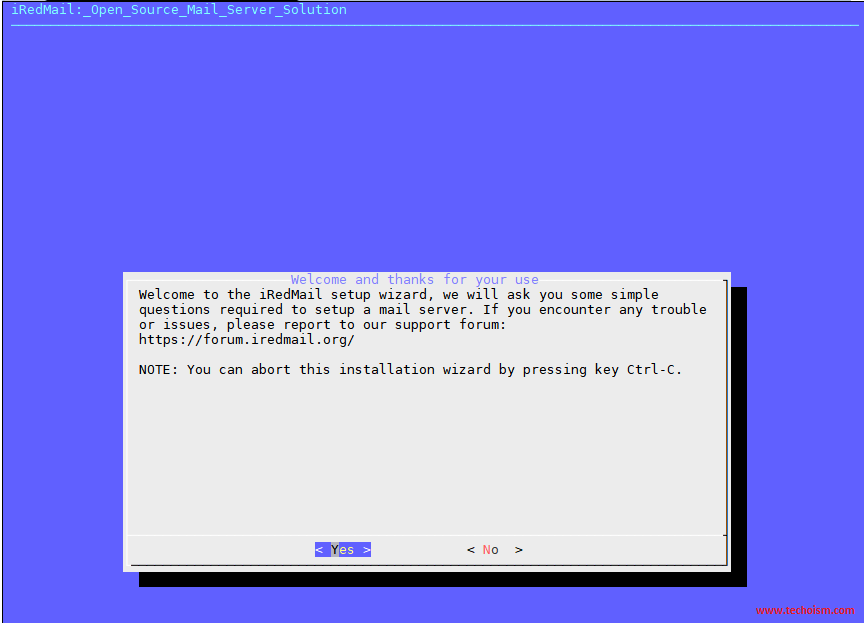
Welcome to the iRedMail setup wizard. Click “Yes” to proceed.
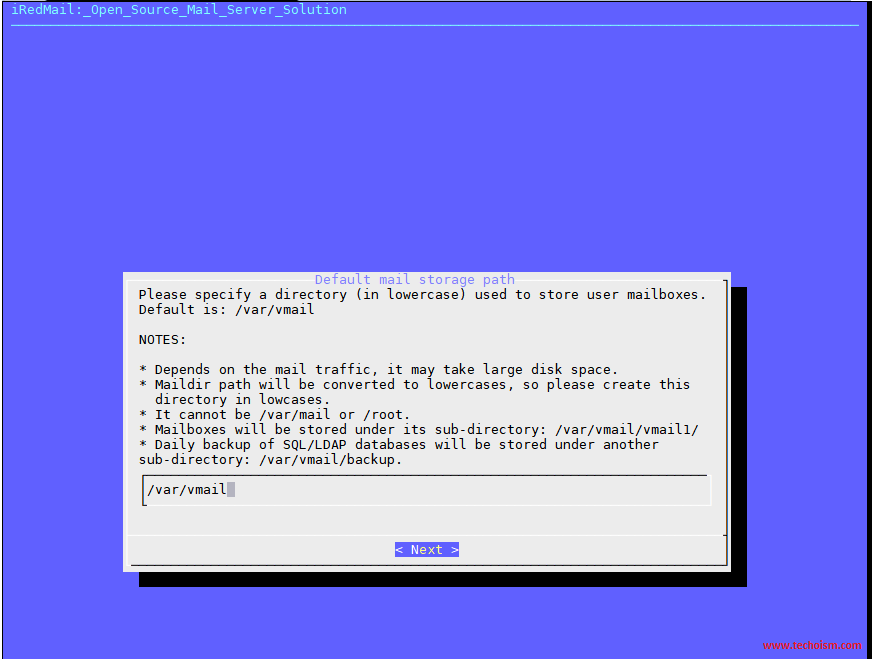
By default, iRedMail stores user mailboxes on /var/vmail. If you want to change the default location change it and Click on Next.
Choose the Web Server you want to run and Click on Next.

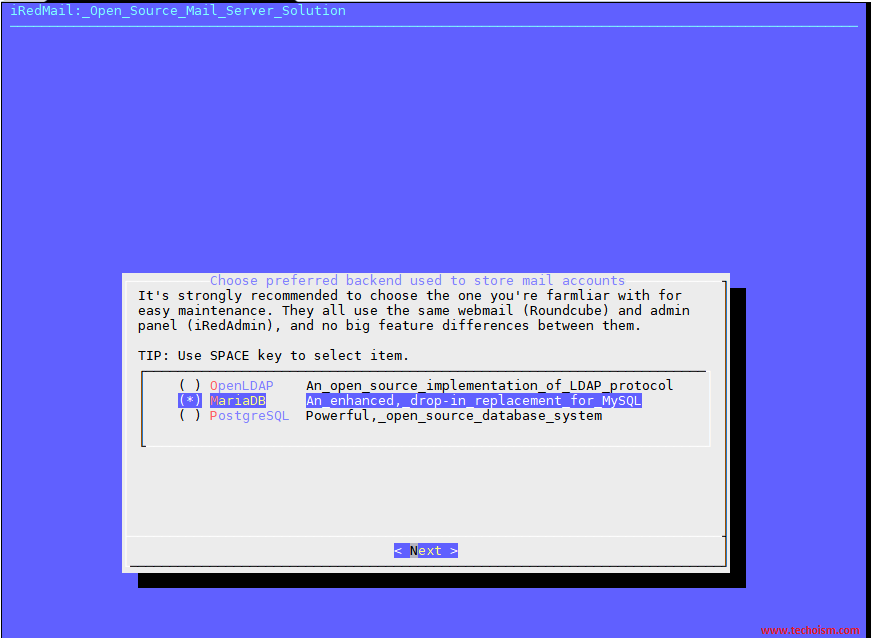
Select any of the databases you want to chose to store mail accounts in backend and Click on Next.
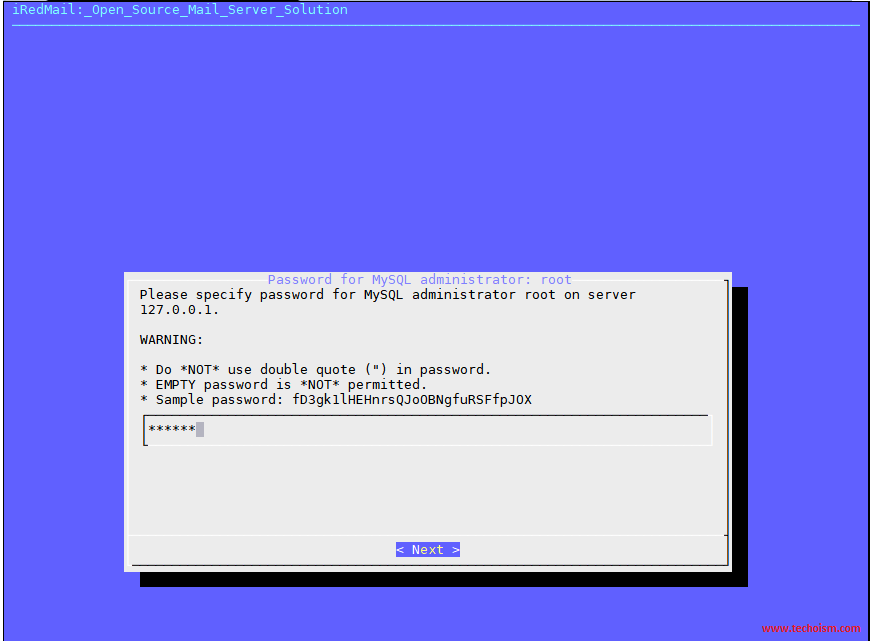
Specify the MySQL root password and Click on Next.
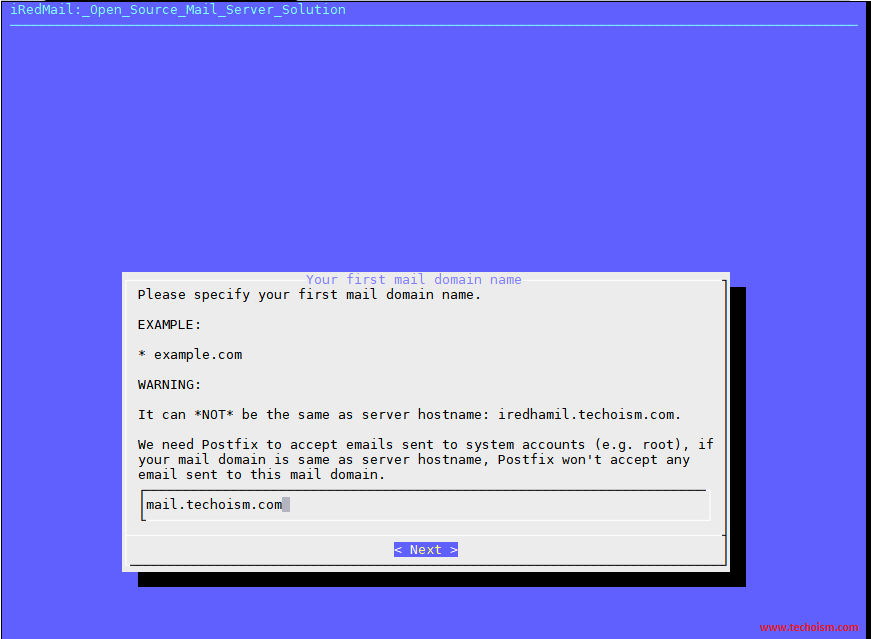
Please specify your first mail domain name and Click on Next.
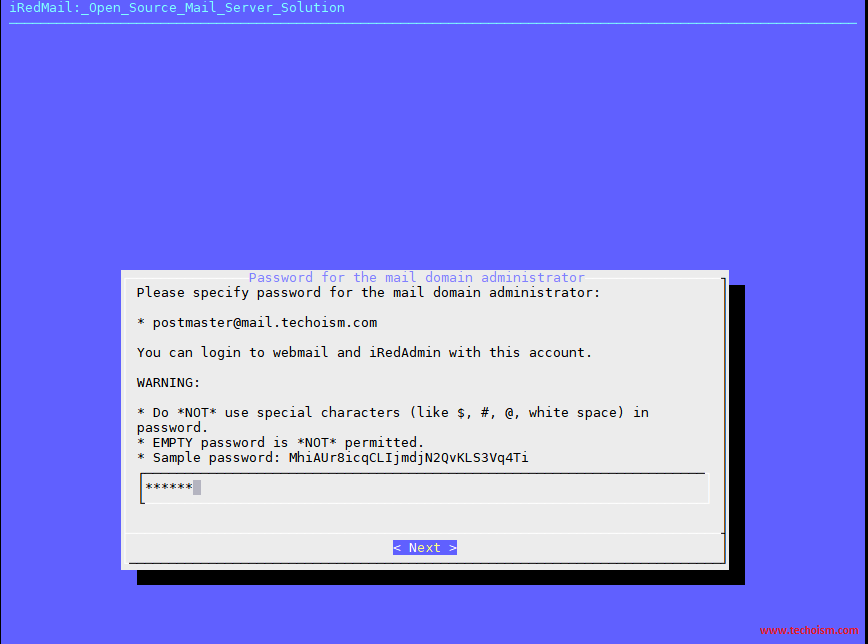
Please specify a password for the mail domain administrator and Click on Next.
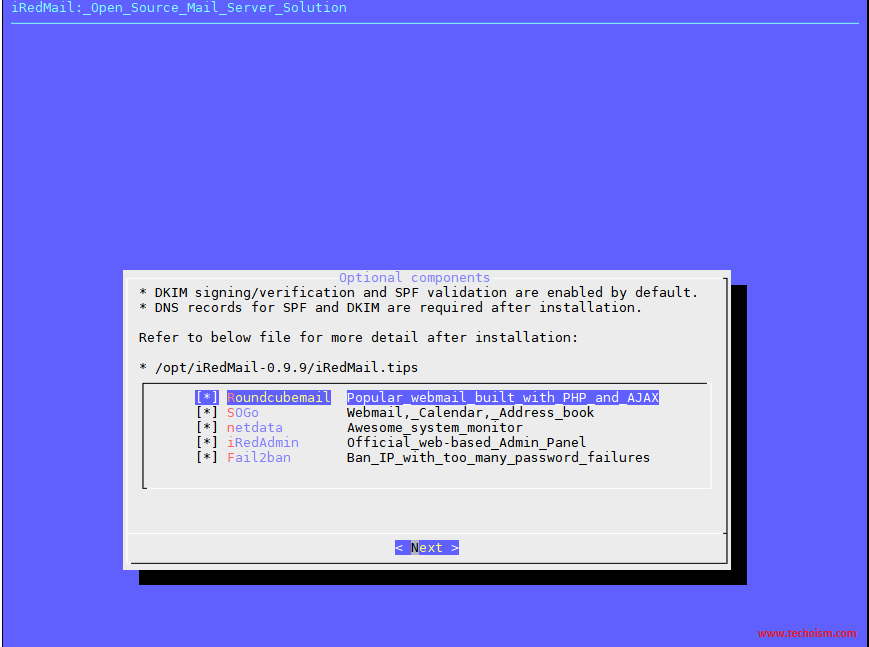
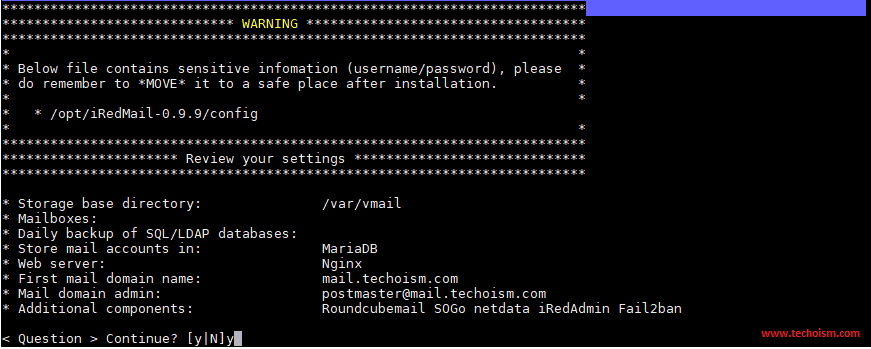
These are the optional components so select the components as per your requirement and Click on Next.
If all the information is correct type Click on y and press Enter.
iRedMail installation has been started.
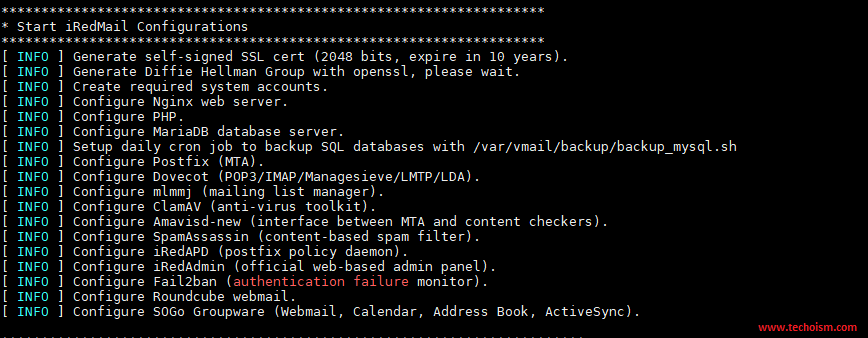
Set some other below configuration to completed the iRedMail installation.
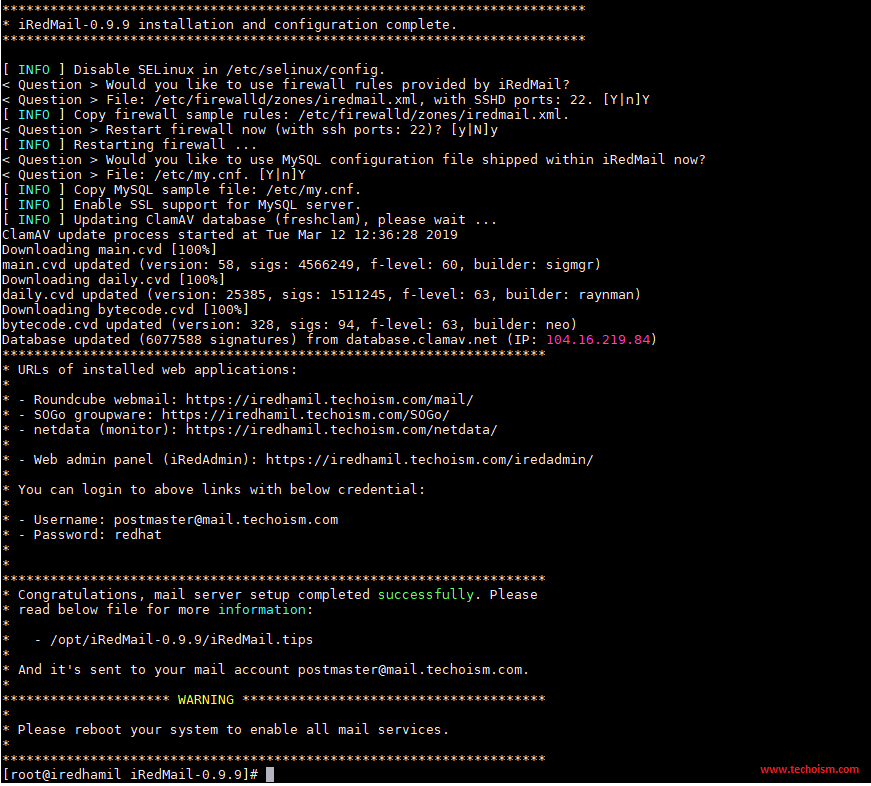
Note: Default configuration of iRedMail.
Postfix mail logs: /var/log/maillog
iRedMail Logs: /var/log/iredapd/iredapd.log
Default Administrator Name: postmaster@nsitmail.com
iRedAdmin Web-based Admin Panel: https://iredmail.techoism.com/iredadmin
Roundcube Webmail: https://iredmail.techoism.com/mail
SOGo Groupware Webmail: https://iredmail.techoism.com/SOGo
Netdata (Monitor): https://iredmail.techoism.com/netdata
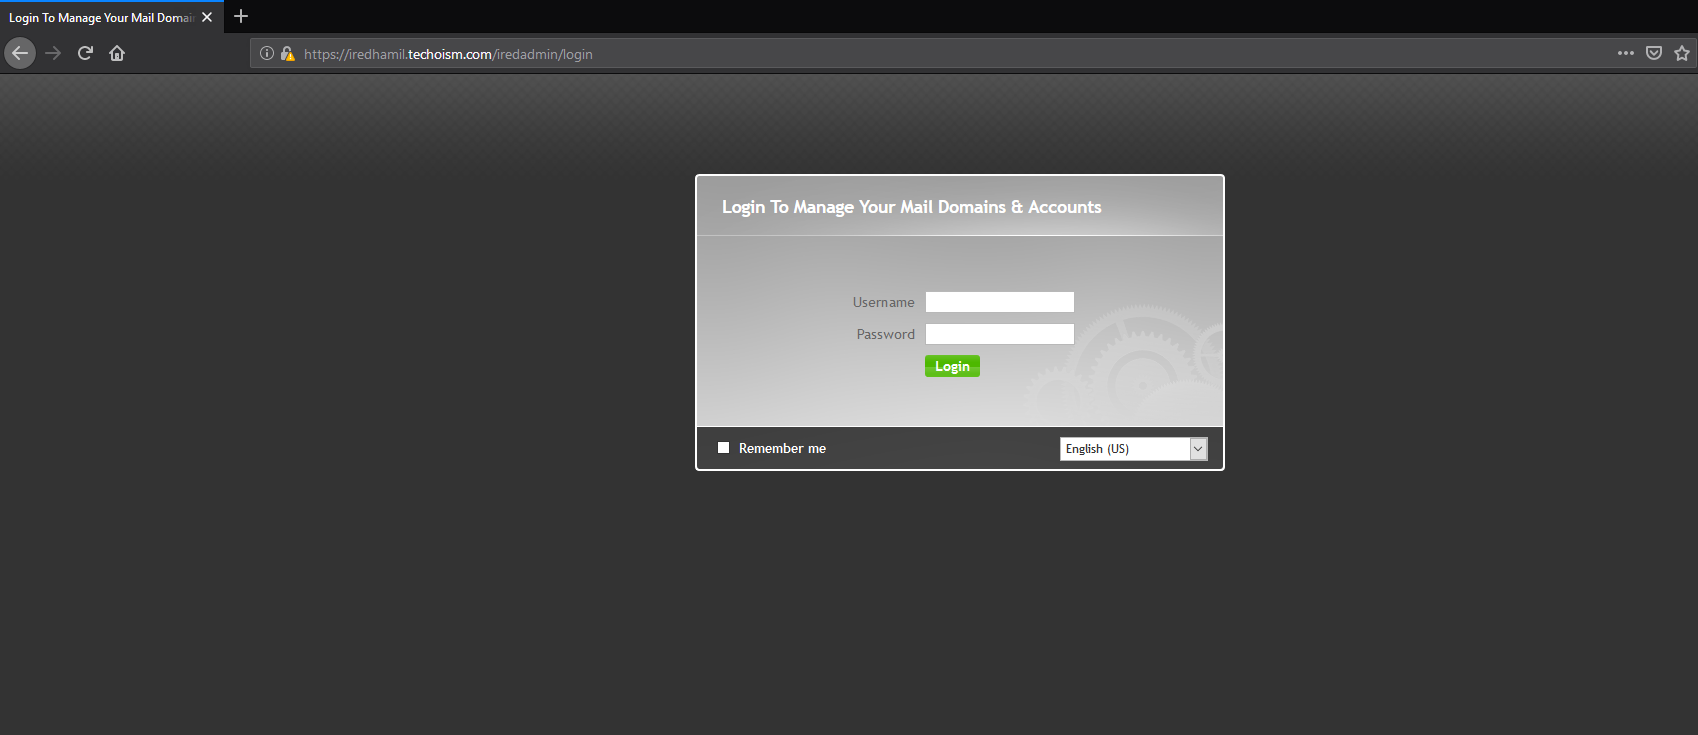
Step 4: Access iRedMail Admin Panel
Access mention URL in browser to access iRedMail admin panel.
https://iredmail.techoism.com/iredadmin
Step 5: Access Roundcube Webmail
Access mention URL to access Roundcube webmail.
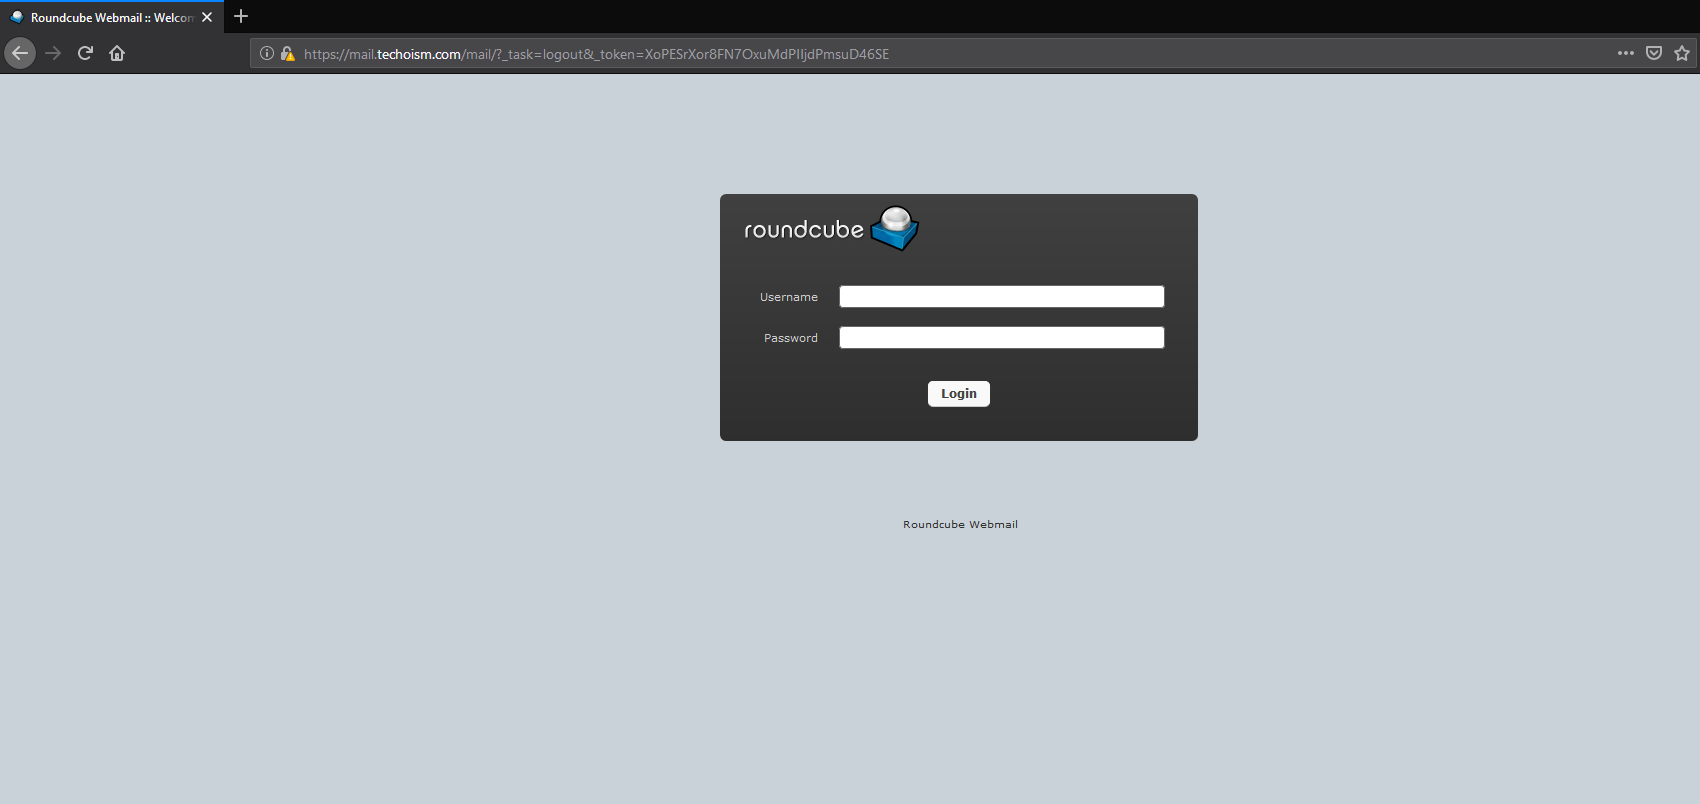
Enjoy it!
