How To Install Apache Solr 8.5 on CentOS/RHEL 7/6
Apache Solr is the open-source, popular, blazing fast open source enterprise search platform from the Apache Lucene project. Apache Solr is written on Java language. Solr is highly scalable, providing fault-tolerant distributed search and indexing, and powers the search and navigation features of many of the world’s largest Internet sites.
Useful Articles:
- HOW TO INSTALL SOLR 5.3 ON CENTOS/RHEL
- APACHE SOLR INTERVIEW QUESTIONS
- HOW TO INSTALL APACHE SOLR 3.4.0 ON CENTOS/RHEL 5/6/7
- INSTALL SOLR 5.2.1 ON CENTOS/RHEL 5/6/7
- HOW TO INSTALL JAVA 8 (JDK 8U121) ON UBUNTU VIA PPA
- COMMONLY USE JAVA KEYTOOL KEYSTORE COMMANDS
- INSTALL JAVA 8 ON CENTOS/RHEL 6/5
- INSTALL JAVA 7 ON CENTOS/RHEL
This article will help you to install Apache Solr 8.5 on your server.
Step 1: Install Java
JAVA is the first requirement for Solr establishment. JAVA SE 8 or Later is required to run Apache Solr 8. Utilization taking after order to check in the event that you have Java introduced as of now on your system.
# yum install java-11-openjdk
After installing the Java you can check the version of Java.
# java -version
Step 2: Download & Extract Solr 8.5.1
You can download the latest version of Apache Solr from official website or use the following command to download the Apache Solr.
# cd /opt
# wget https://downloads.apache.org/lucene/solr/8.5.1/solr-8.5.1.tgz
Now we extract tar file using following command:
# tar xzf solr-8.5.1.tgz solr-8.5.1/bin/install_solr_service.sh --strip-components=2
Step 3: Install Apache Solr
Now run the Solr service installer script to setup Solr environment. The command will be like below:
# bash ./install_solr_service.sh solr-8.5.1.tgz
It will create the account with the named of solr on your system. By default Solr port is 8983.
Step 4: Firewall
By default Solr runs on port 8983. If you have an active firewall, allow port 8983.
# firewall-cmd  --permanent --add-port=8983/tcp
# firewall-cmd --reload
Step 5: Manage Solr
Use the following commands to Start and Stop the Solr service.
# service solr start
# service solr Stop
Enable the service at boot time.
# chkconfig solr on
You can check the Solr status using following command.
# service solr status
You can now create your first Solr collection using following command.
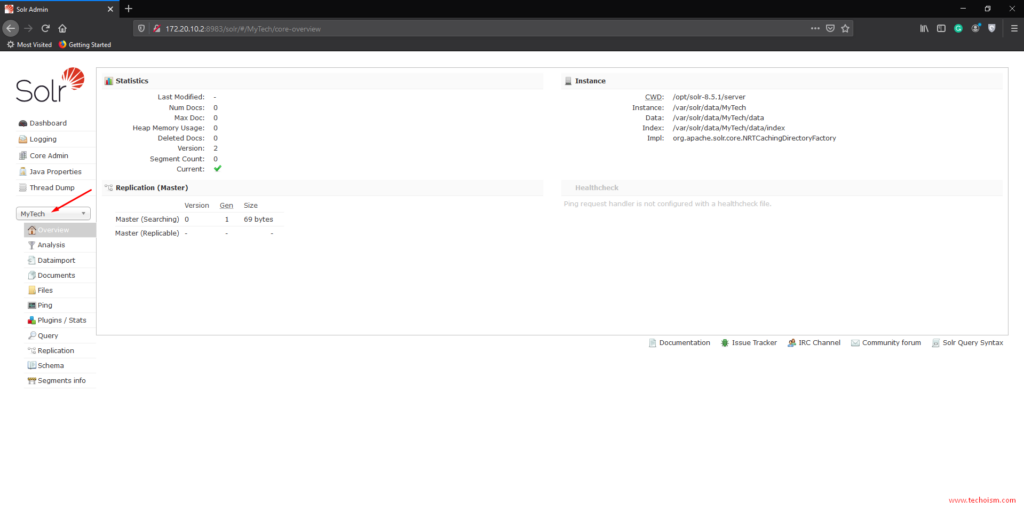
# su - solr -c "/opt/solr/bin/solr create -c MyTech -n data_driven_schema_configs"
Sample Output:
Created new core 'MyTech'
Step 6: Access Solr Web Admin Panel
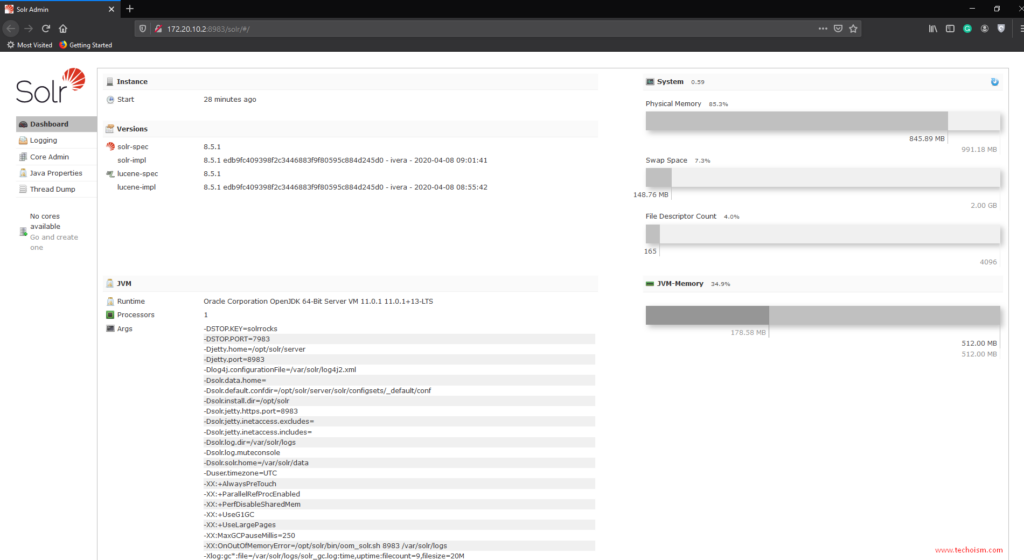
In the wake of beginning Solr, direct your Web program to the Solr Admin Console by using IP Address/Hostname with port.
http://<IP_Address>:8983
OR
http://<Hostname>:8983
The created collections are available on the dashboard from the Collections left panel.
Enjoy it!


