Install Magento 2 on Linux System
Magento 2 has launched and on Magento’s official blog. Magento is the best eCommerce software and solution for online services. As we all know, beta version of Magento 2 was officially launched on 18th December. To know more about Magento 2 read release notes.
See Also:

This tutorial will help you to install Magento 2 on Linux systems.
Step #1 Setup Requirements
This is the set of system requirements for Magento 2:
Step #2 Install Composer
Introducing Composer mainly is a matter of simply running the installer in your project directory. The main step is to introduce Composer. Run the following command from the terminal:
# curl -sS https://getcomposer.org/installer | php
# mv composer.phar /usr/local/bin/composer
Step #3 Download Magento 2
Magento 2.0, the next generation open source digital commerce platform is now available for download! Get your access to the new code by visiting the Community Edition page for the free download. Also you can download using git.
# cd /var/www/html/magento2
For HTTPS:
# git clone https://github.com/magento/magento2.git
For SSH:
# git clone git@github.com:magento/magento2.git
Step #5 Change Permission for Magento 2 Directories
After downloading Magento 2 source code change the permission using following command:
# chown -R apache.apache /var/www/html/magento2
# chmod -R 755 /var/www/html/magento2
Step #6 Update Composer on Directories
After you are done with updating the file system permissions and ownership, go onto update Composer and run the installer:
# cd /var/www/html/magento2
# composer install
Step #7 Create Database
Now login to your mysql server and create a database and user for new magento 2 installation.
# mysql -u root -p
mysql> CREATE DATABASE magento2;
mysql> GRANT ALL ON magento2.* TO magento2_usr@'localhost' IDENTIFIED BY 'secertpassword';
mysql> FLUSH PRIVILEGES;
mysql> quit
Step #8 Install Magento 2
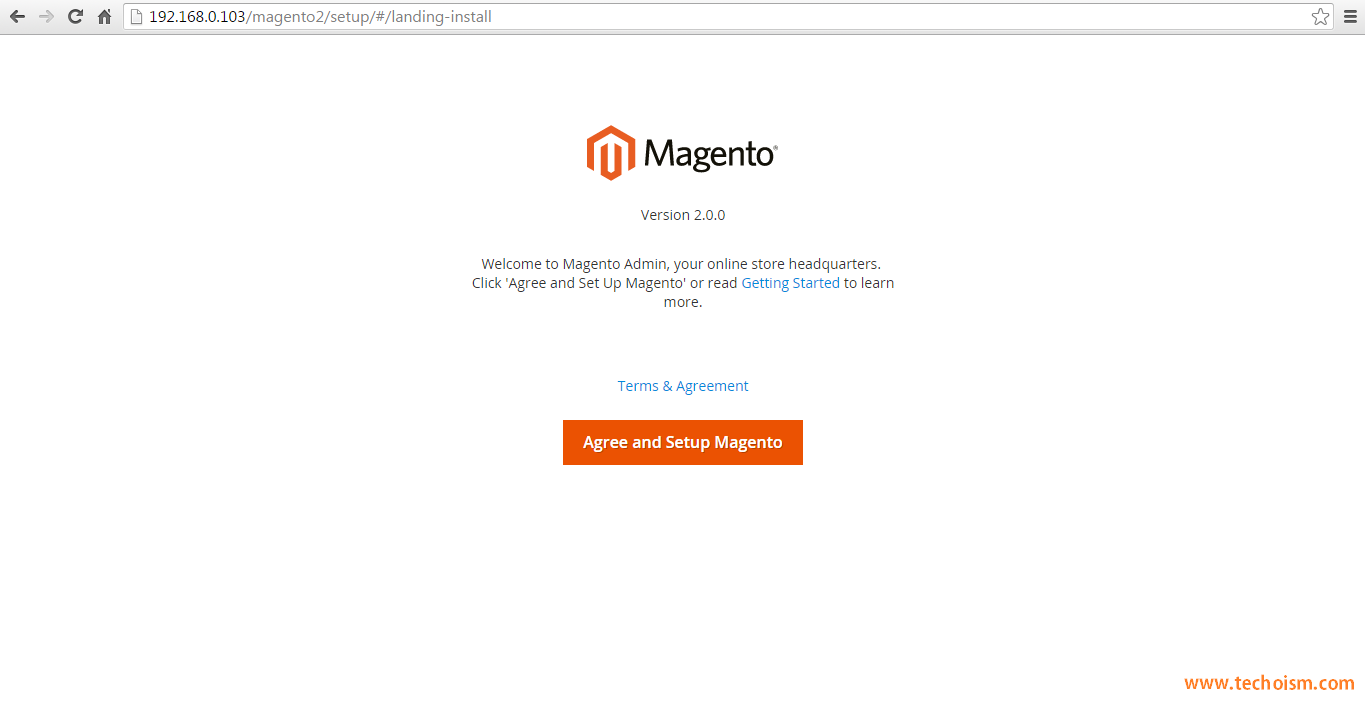
Let’s begin the installation of Magento2 using web installer. Access your magento 2 directory on web browser like below.
http://localhost/magento2/
Or
http://IP_Address/magento2/
Now click on “Start Rediness Test”.
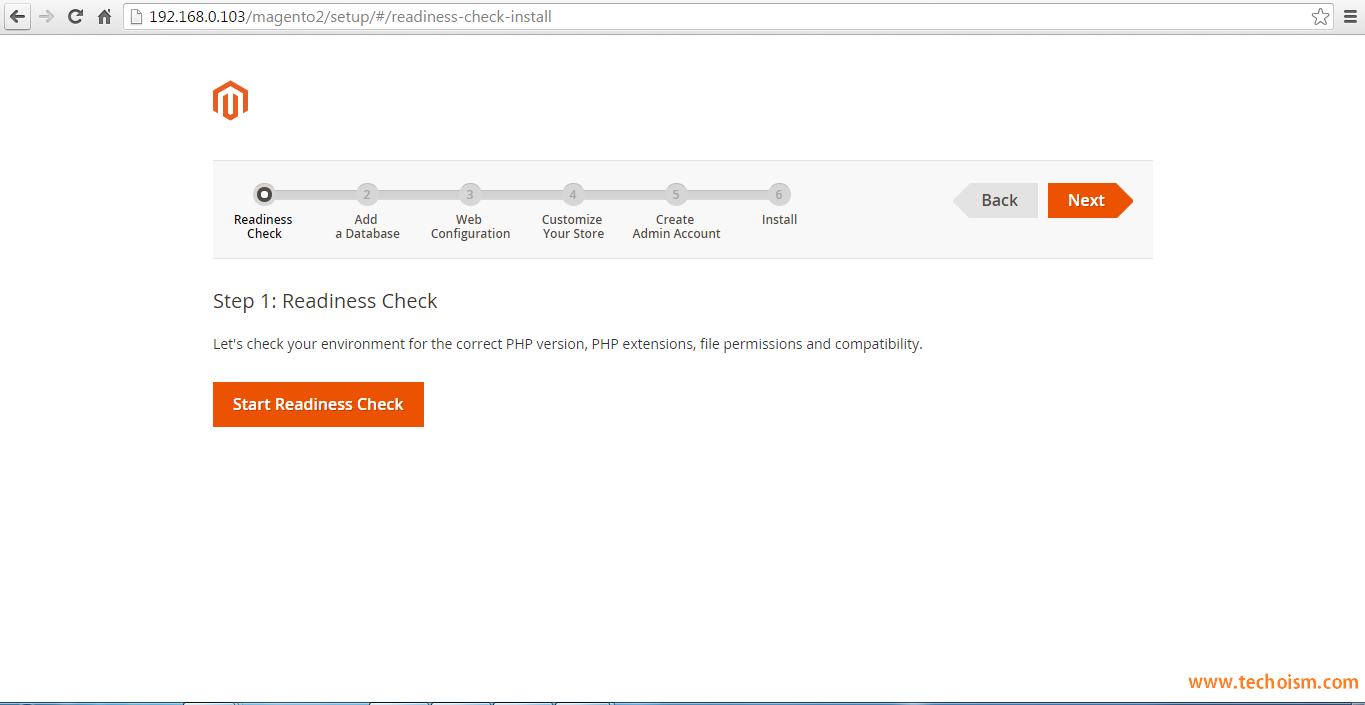
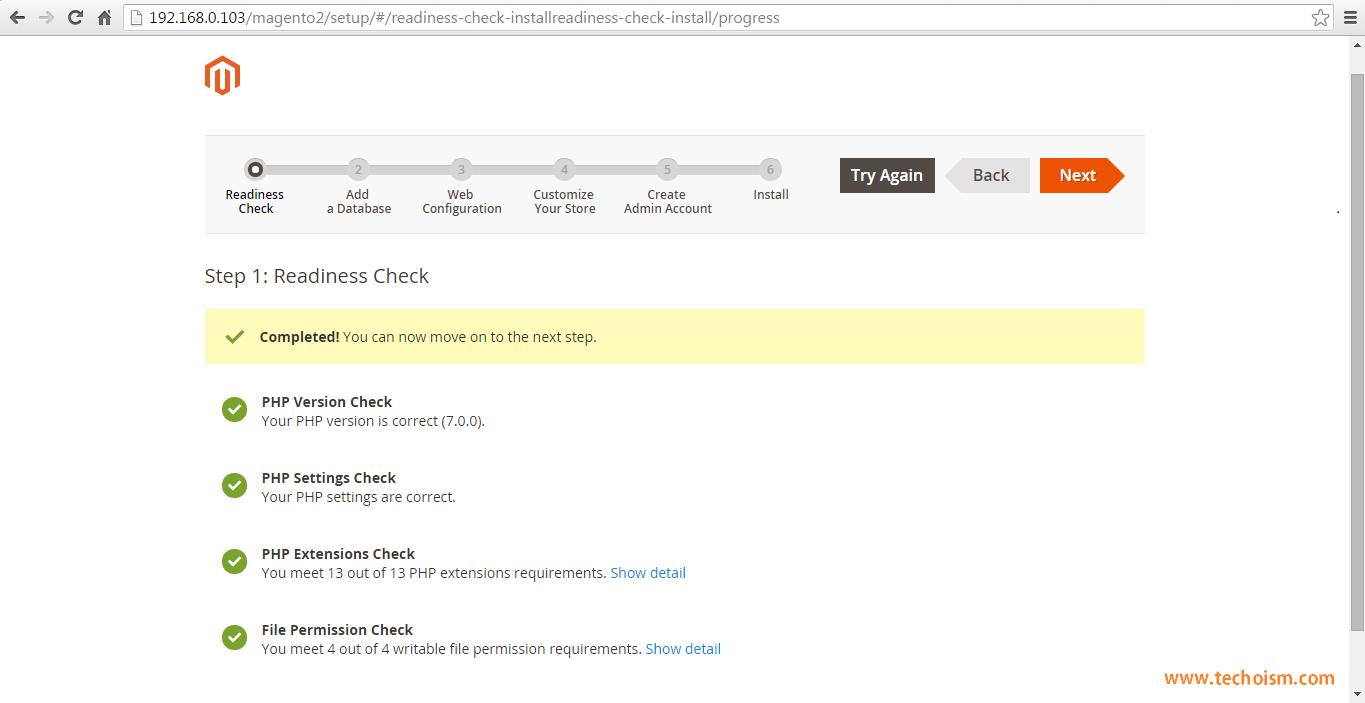
Magento will check for system requirements here. On successful completion you will see screen like below then Just click Next. Fix issues if shows on this screen and click Try again.
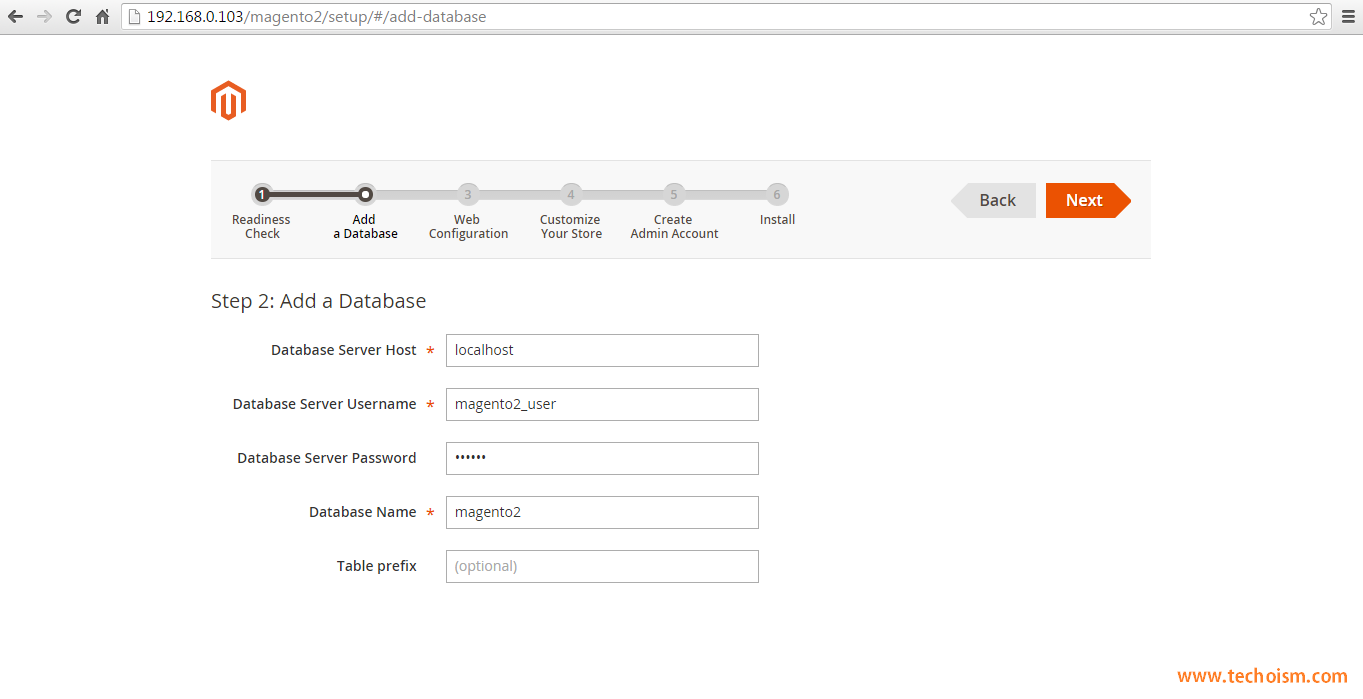
Enter your database details in step 4.
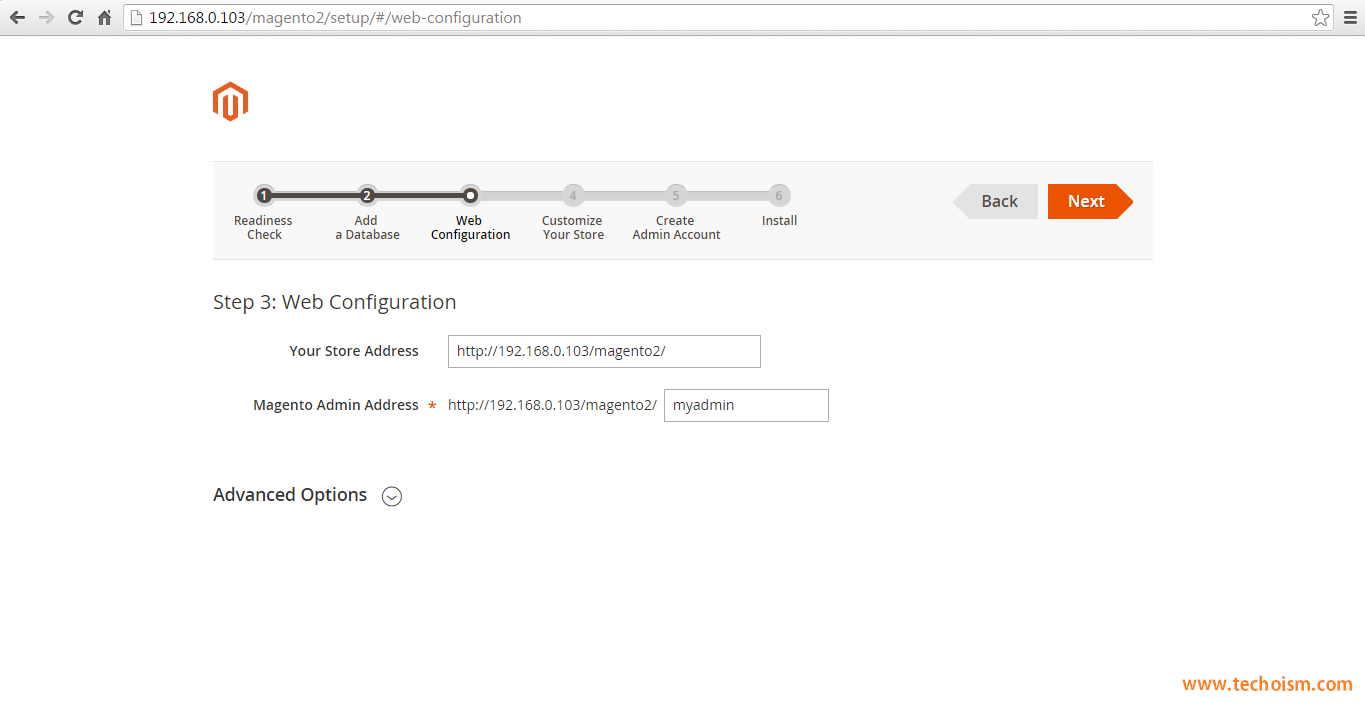
Enter the admin url and website url. Now click Next.
Set the prefered timezone, default currency and default language as per your requirements.
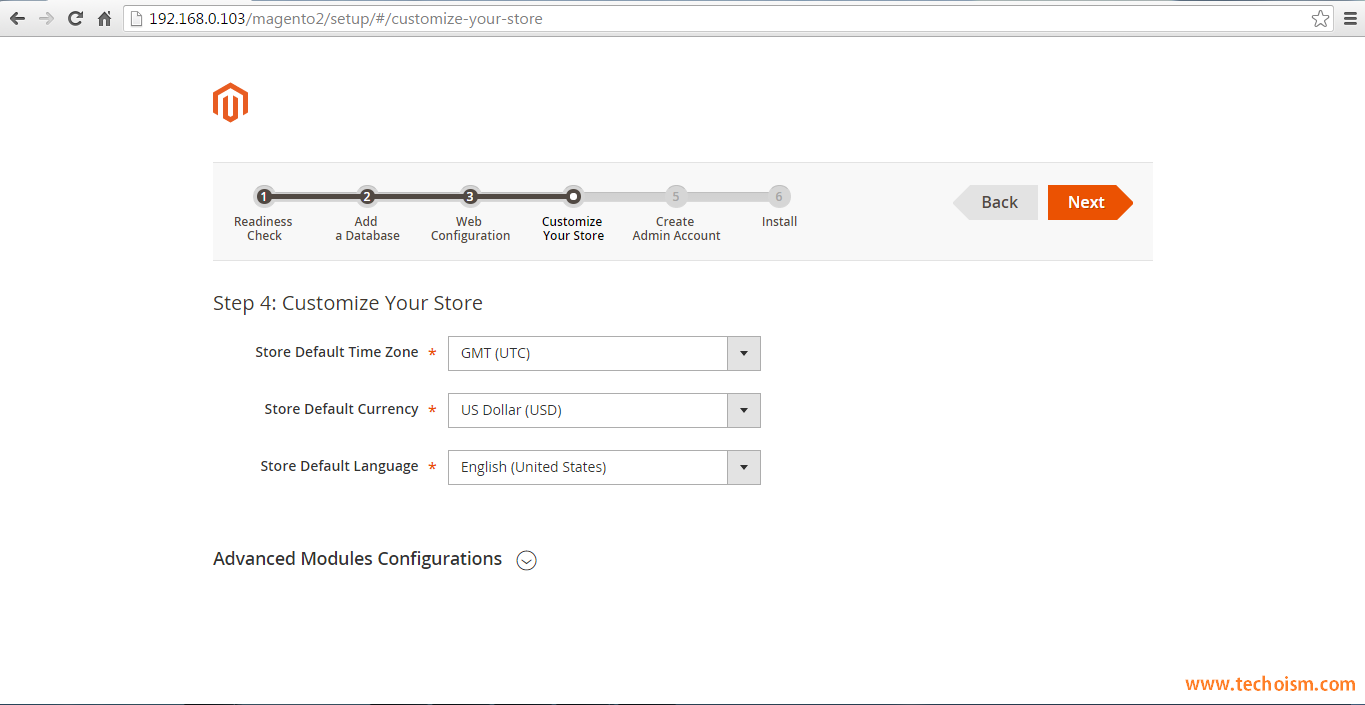
Now create an admin account for your. remember these details for admin login in future .
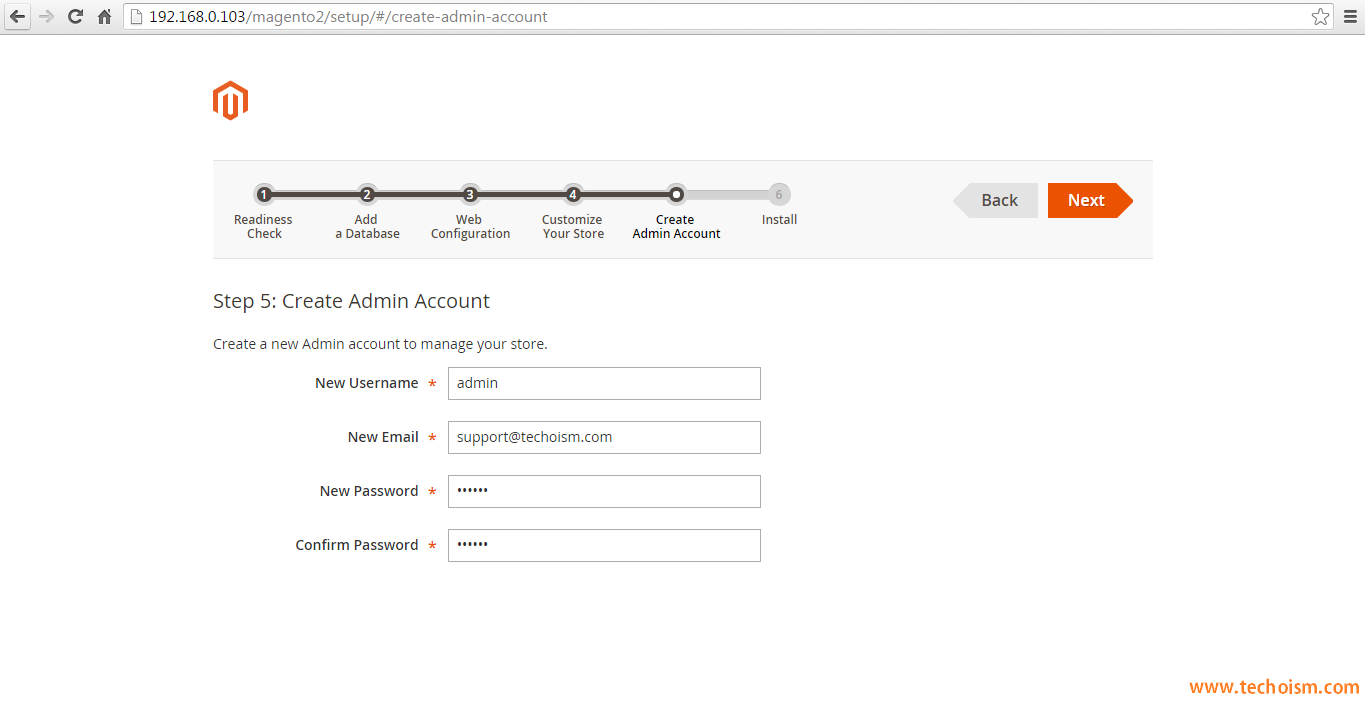
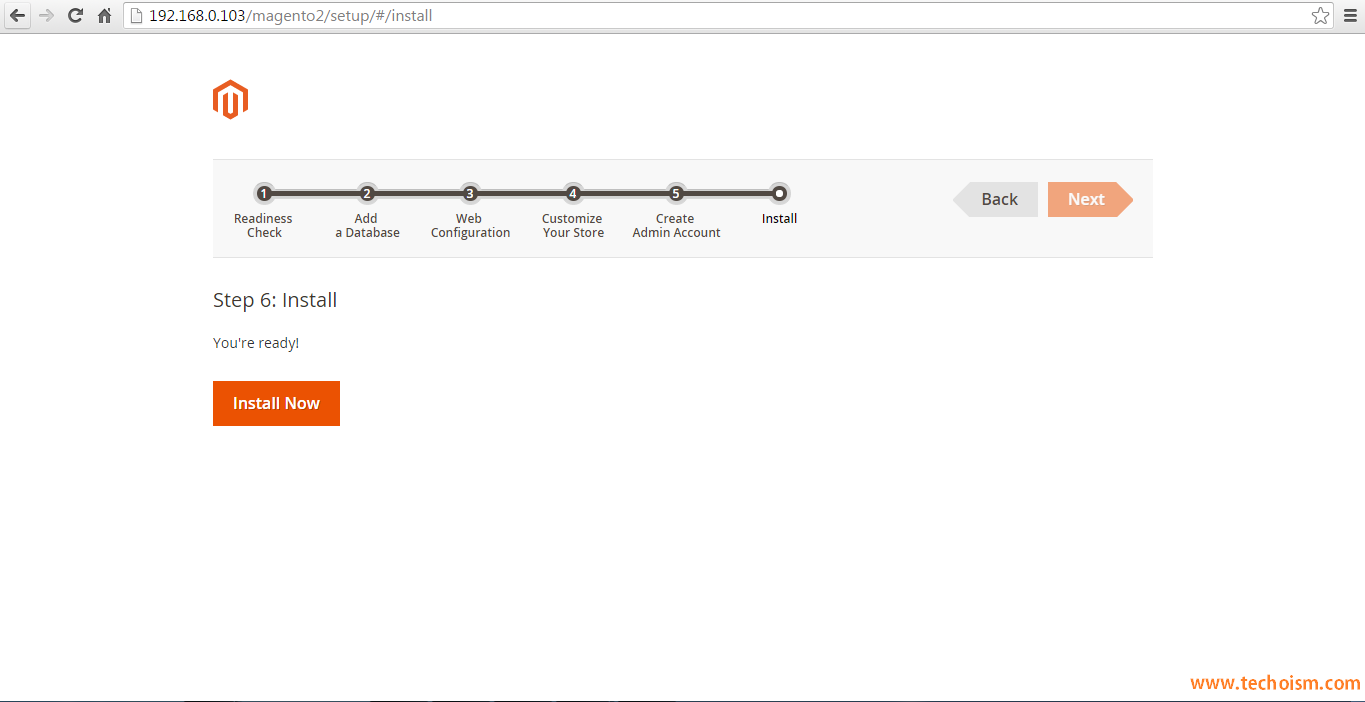
Click on Install Now button to begin installation and wait for its completion.
You will see a success message on this screen. Now just click on “Launch Magento Admin”.
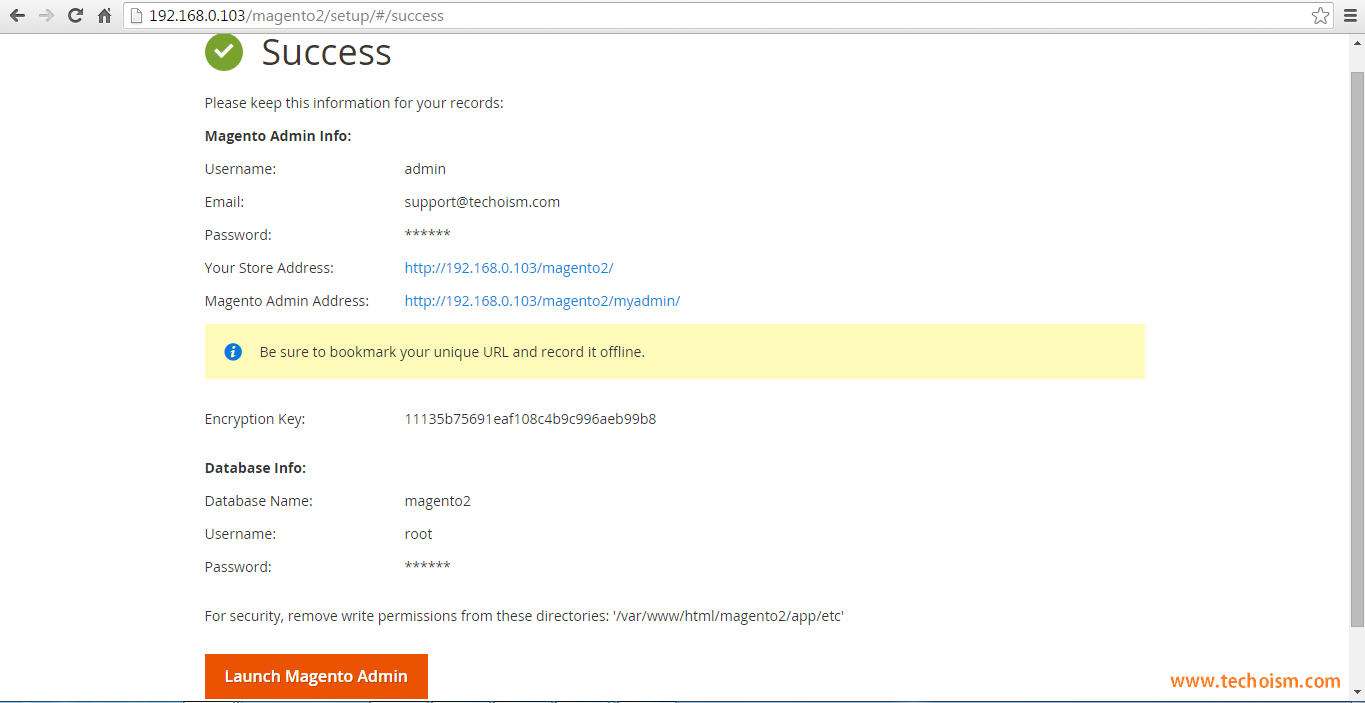
Step #9 Schedule Magento2 Cronjobs
Finally schedule the backgound cronjobs for your magento2 installation. These cronjobs does some activities like, re-indexing, Newsletters, Update of currency rates, sending automatic emails and generating sitemaps etc.
# crontab -e
*/1 * * * * php /var/www/html/magento2/bin/magento cron:run
*/1 * * * * php /var/www/html/magento2/update/cron.php
*/1 * * * * php /var/www/html/magento2/bin/magento setup:cron:run
Enjoy it!

Thanks for sharing this awesome guide, I suggest to use Cloudways managed Magento hosting and install without any issue through their managed platform, https://www.cloudways.com/blog/how-to-install-magento-2-on-localhost/ . This is another guide which helped me to install Magento 2 on localhost.