How to Secure phpMyAdmin with .htaccess
While many users require the usefulness of a database administration system like MySQL, they may not feel great communicating with the system exclusively from the MySQL prompt.
phpMyAdmin was made so user can cooperate with MySQL through a web interface. In this article, we’ll talk about how to secure phpMyAdmin so that you can safely use it.
phpMyAdmin Apache Configuration
First we need to add following lines in phpMyAdmin Apache Configuration:
# vim /etc/httpd/conf.d/phpmyadmin.conf
lt&;Directory "/usr/share/phpmyadmin";>
		Order Deny,Allow
		Allow from 192.168.10.
		Allow from 127.0.0.1
		Deny from all
		Options FollowSymLinks
        DirectoryIndex index.php
        AllowOverride All
lt&;/Directory;>
Configure .htaccess File
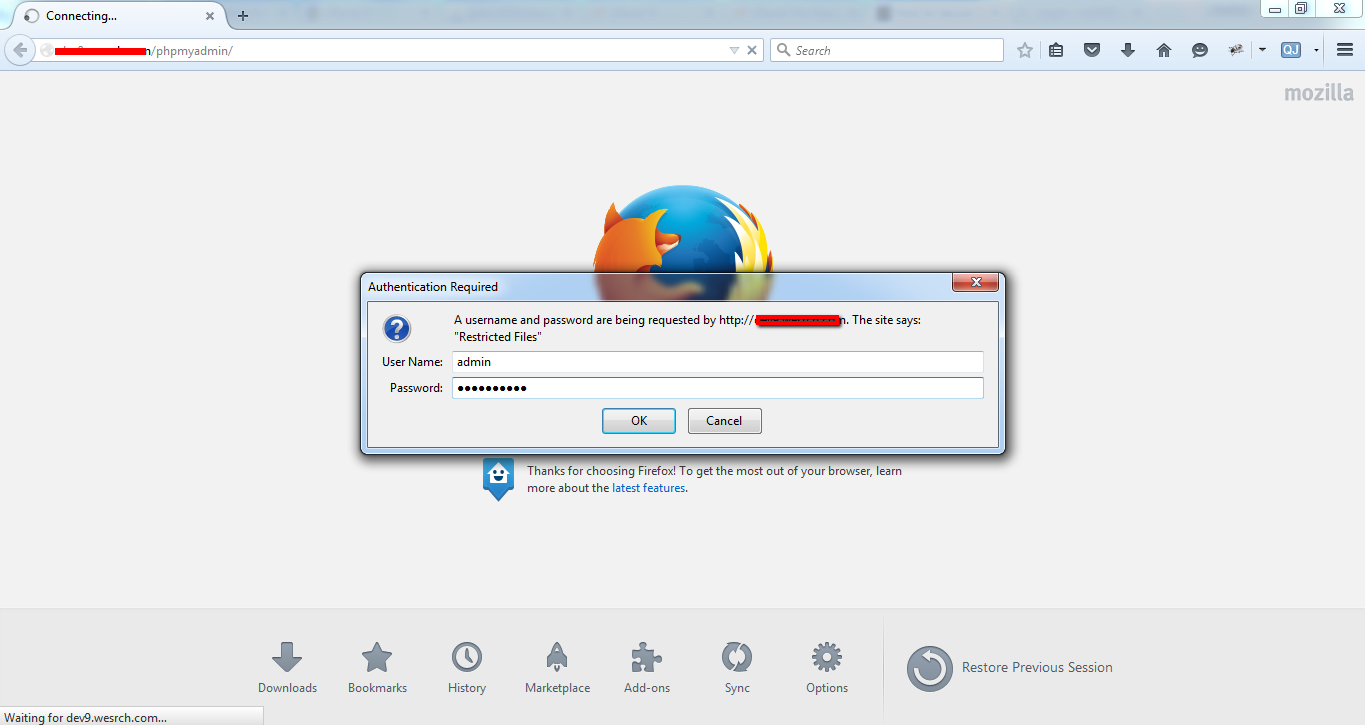
With the .htaccess file allowed, we can continue to set up a local user whose login would be obliged to try and access the phpmyadmin login page.
# cd /usr/share/phpmyadmin
# vim .htaccess
put this code :
AuthType Basic
AuthName "Restricted Files"
AuthUserFile /usr/share/phpmyadmin/passwd
Require valid-user
Note:
AuthType: refers to the type of authentication that wil be use to check the password
AuthName: text that will be displayed at the password prompt and you can Put anything
AuthUserFile: path for file password / will create next step
Require valid-user: tells the .htaccess file that only users in password file to access it.
Create the passwd file
Use the htpasswd command and the place the file in a directory of your choice as long as it is not accessible from a browser.
htpasswd -c /usr/share/phpmyadmin/passwd user-name
Note:
-c= create new file
Restart Apache Service
After that require changes we need to restart Apache Service using following command:
For CentOS 5/6:-
# service httpd restart
For CentOS 7:-
# systemctl restart httpd
Access phpMyAdmin
Now test your configuration by accessing http://192.168.10.40/phpmyadmin/


thank you